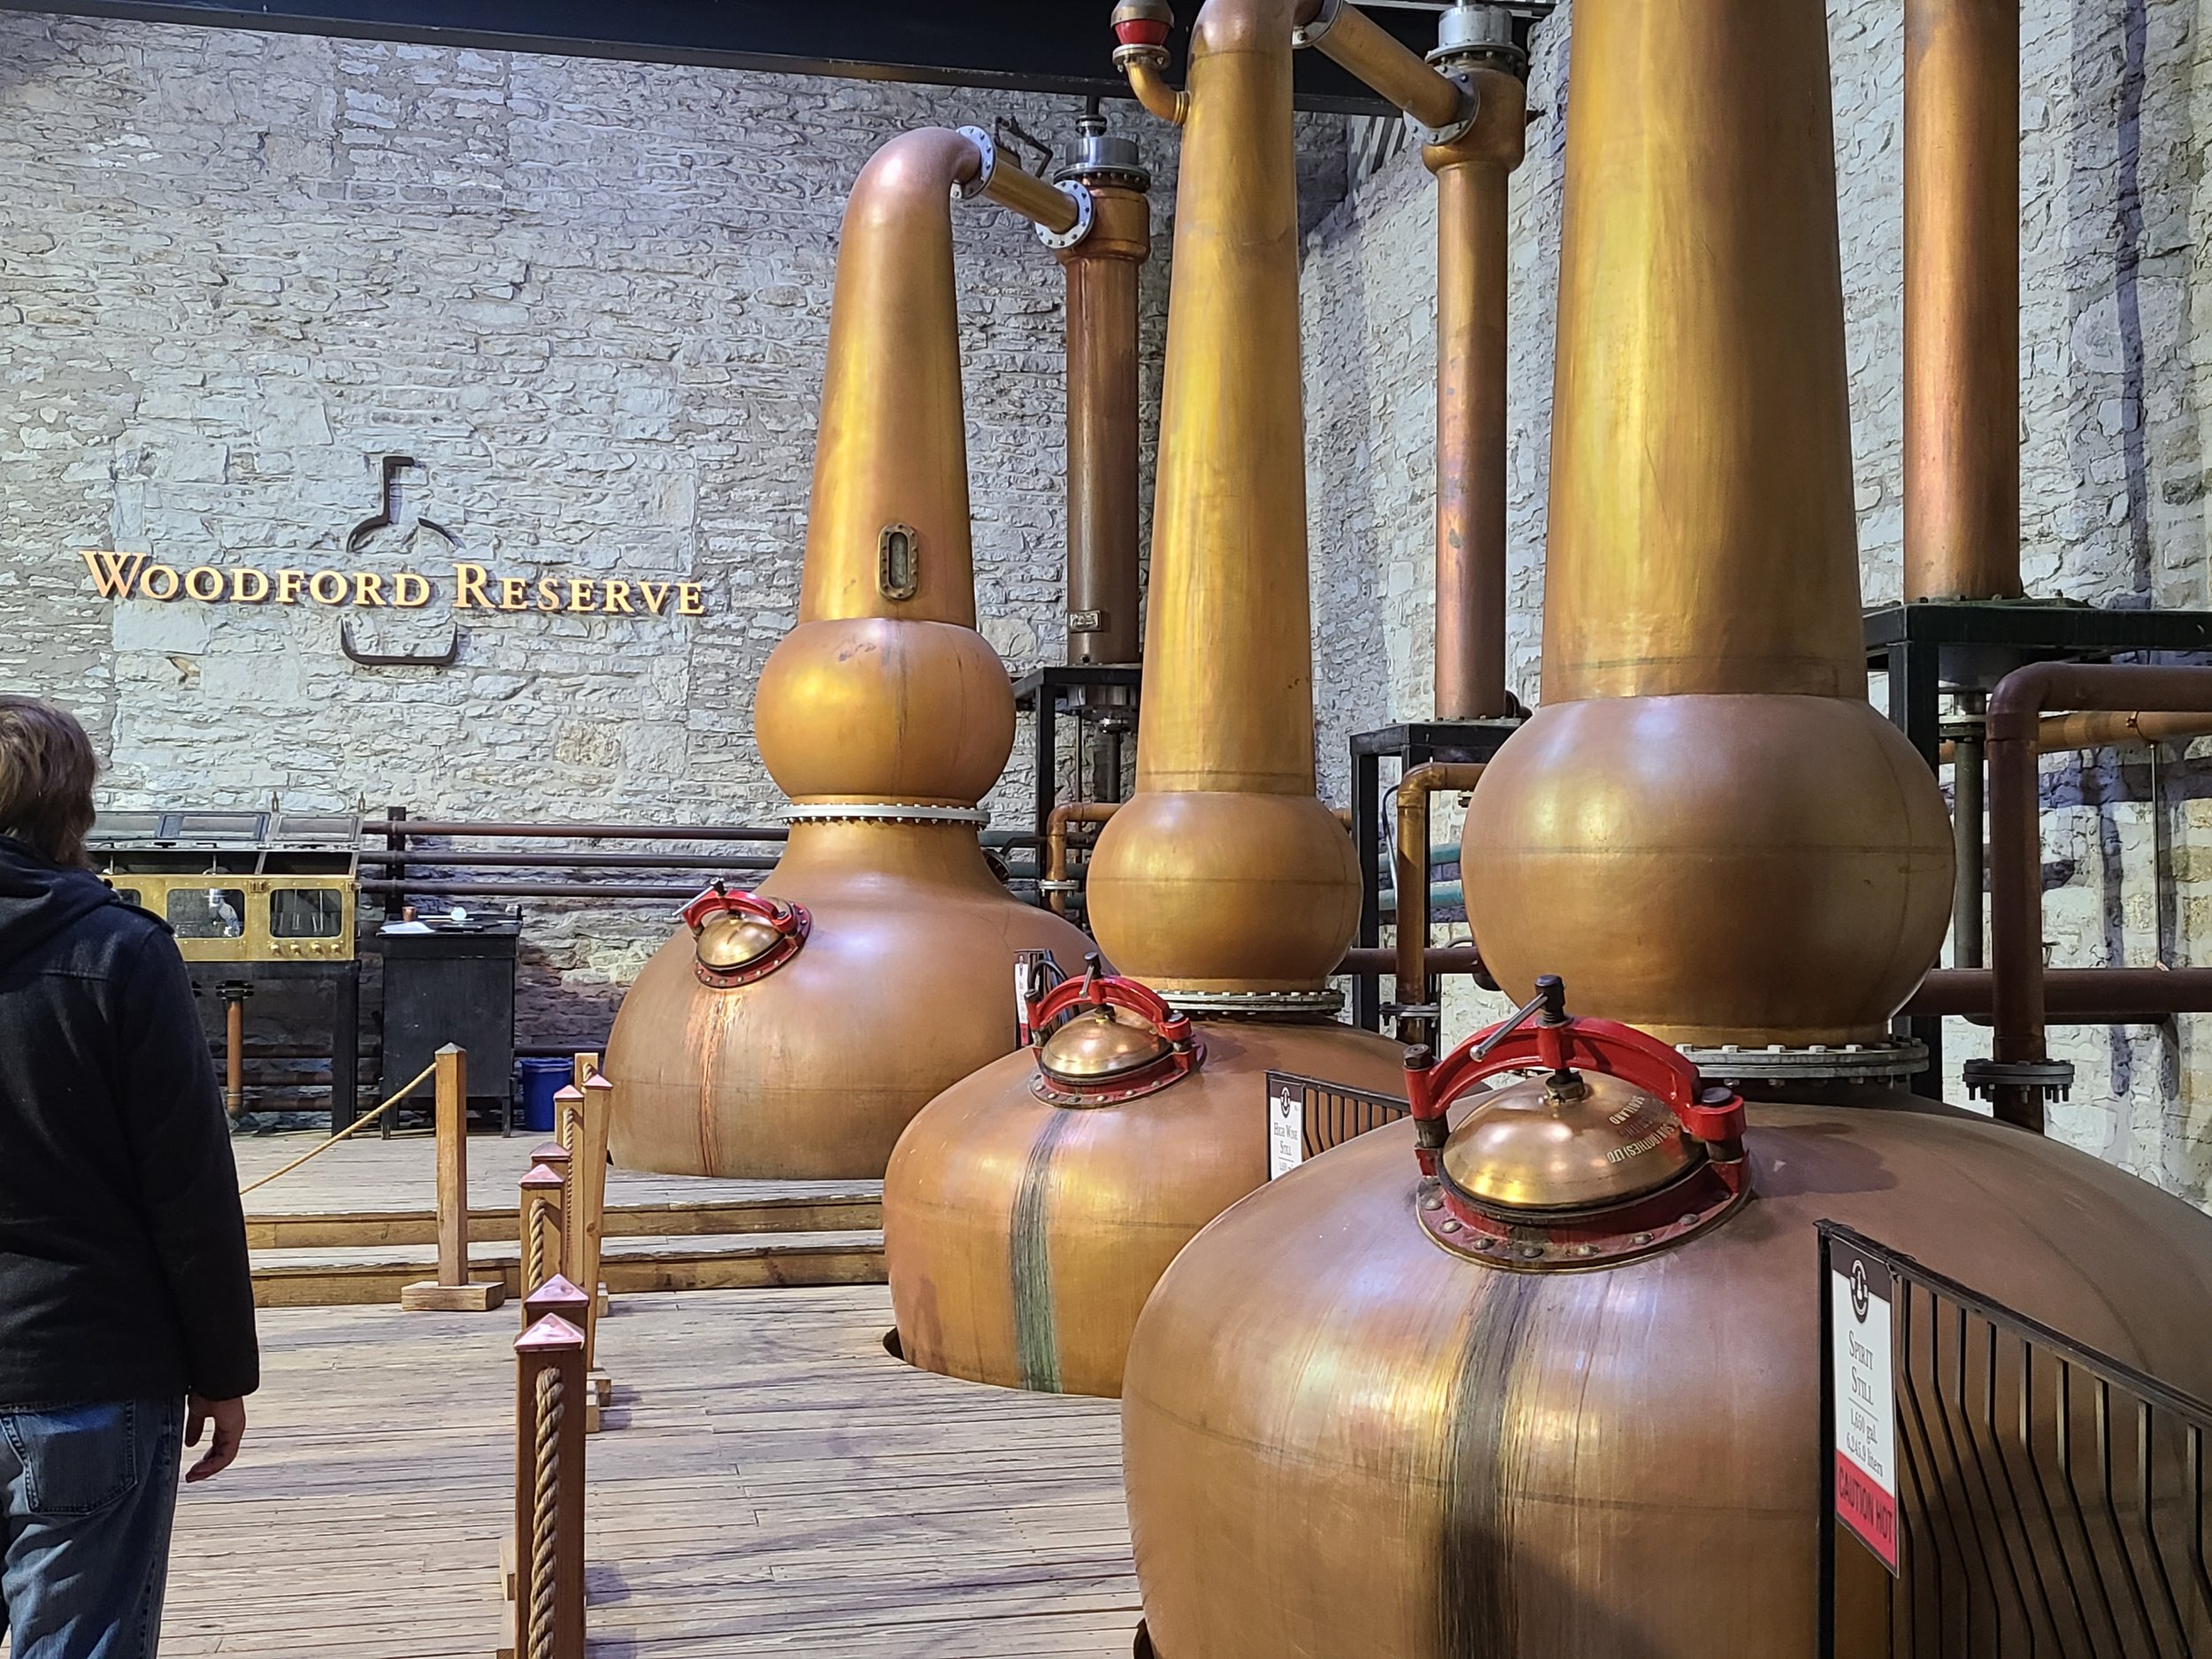
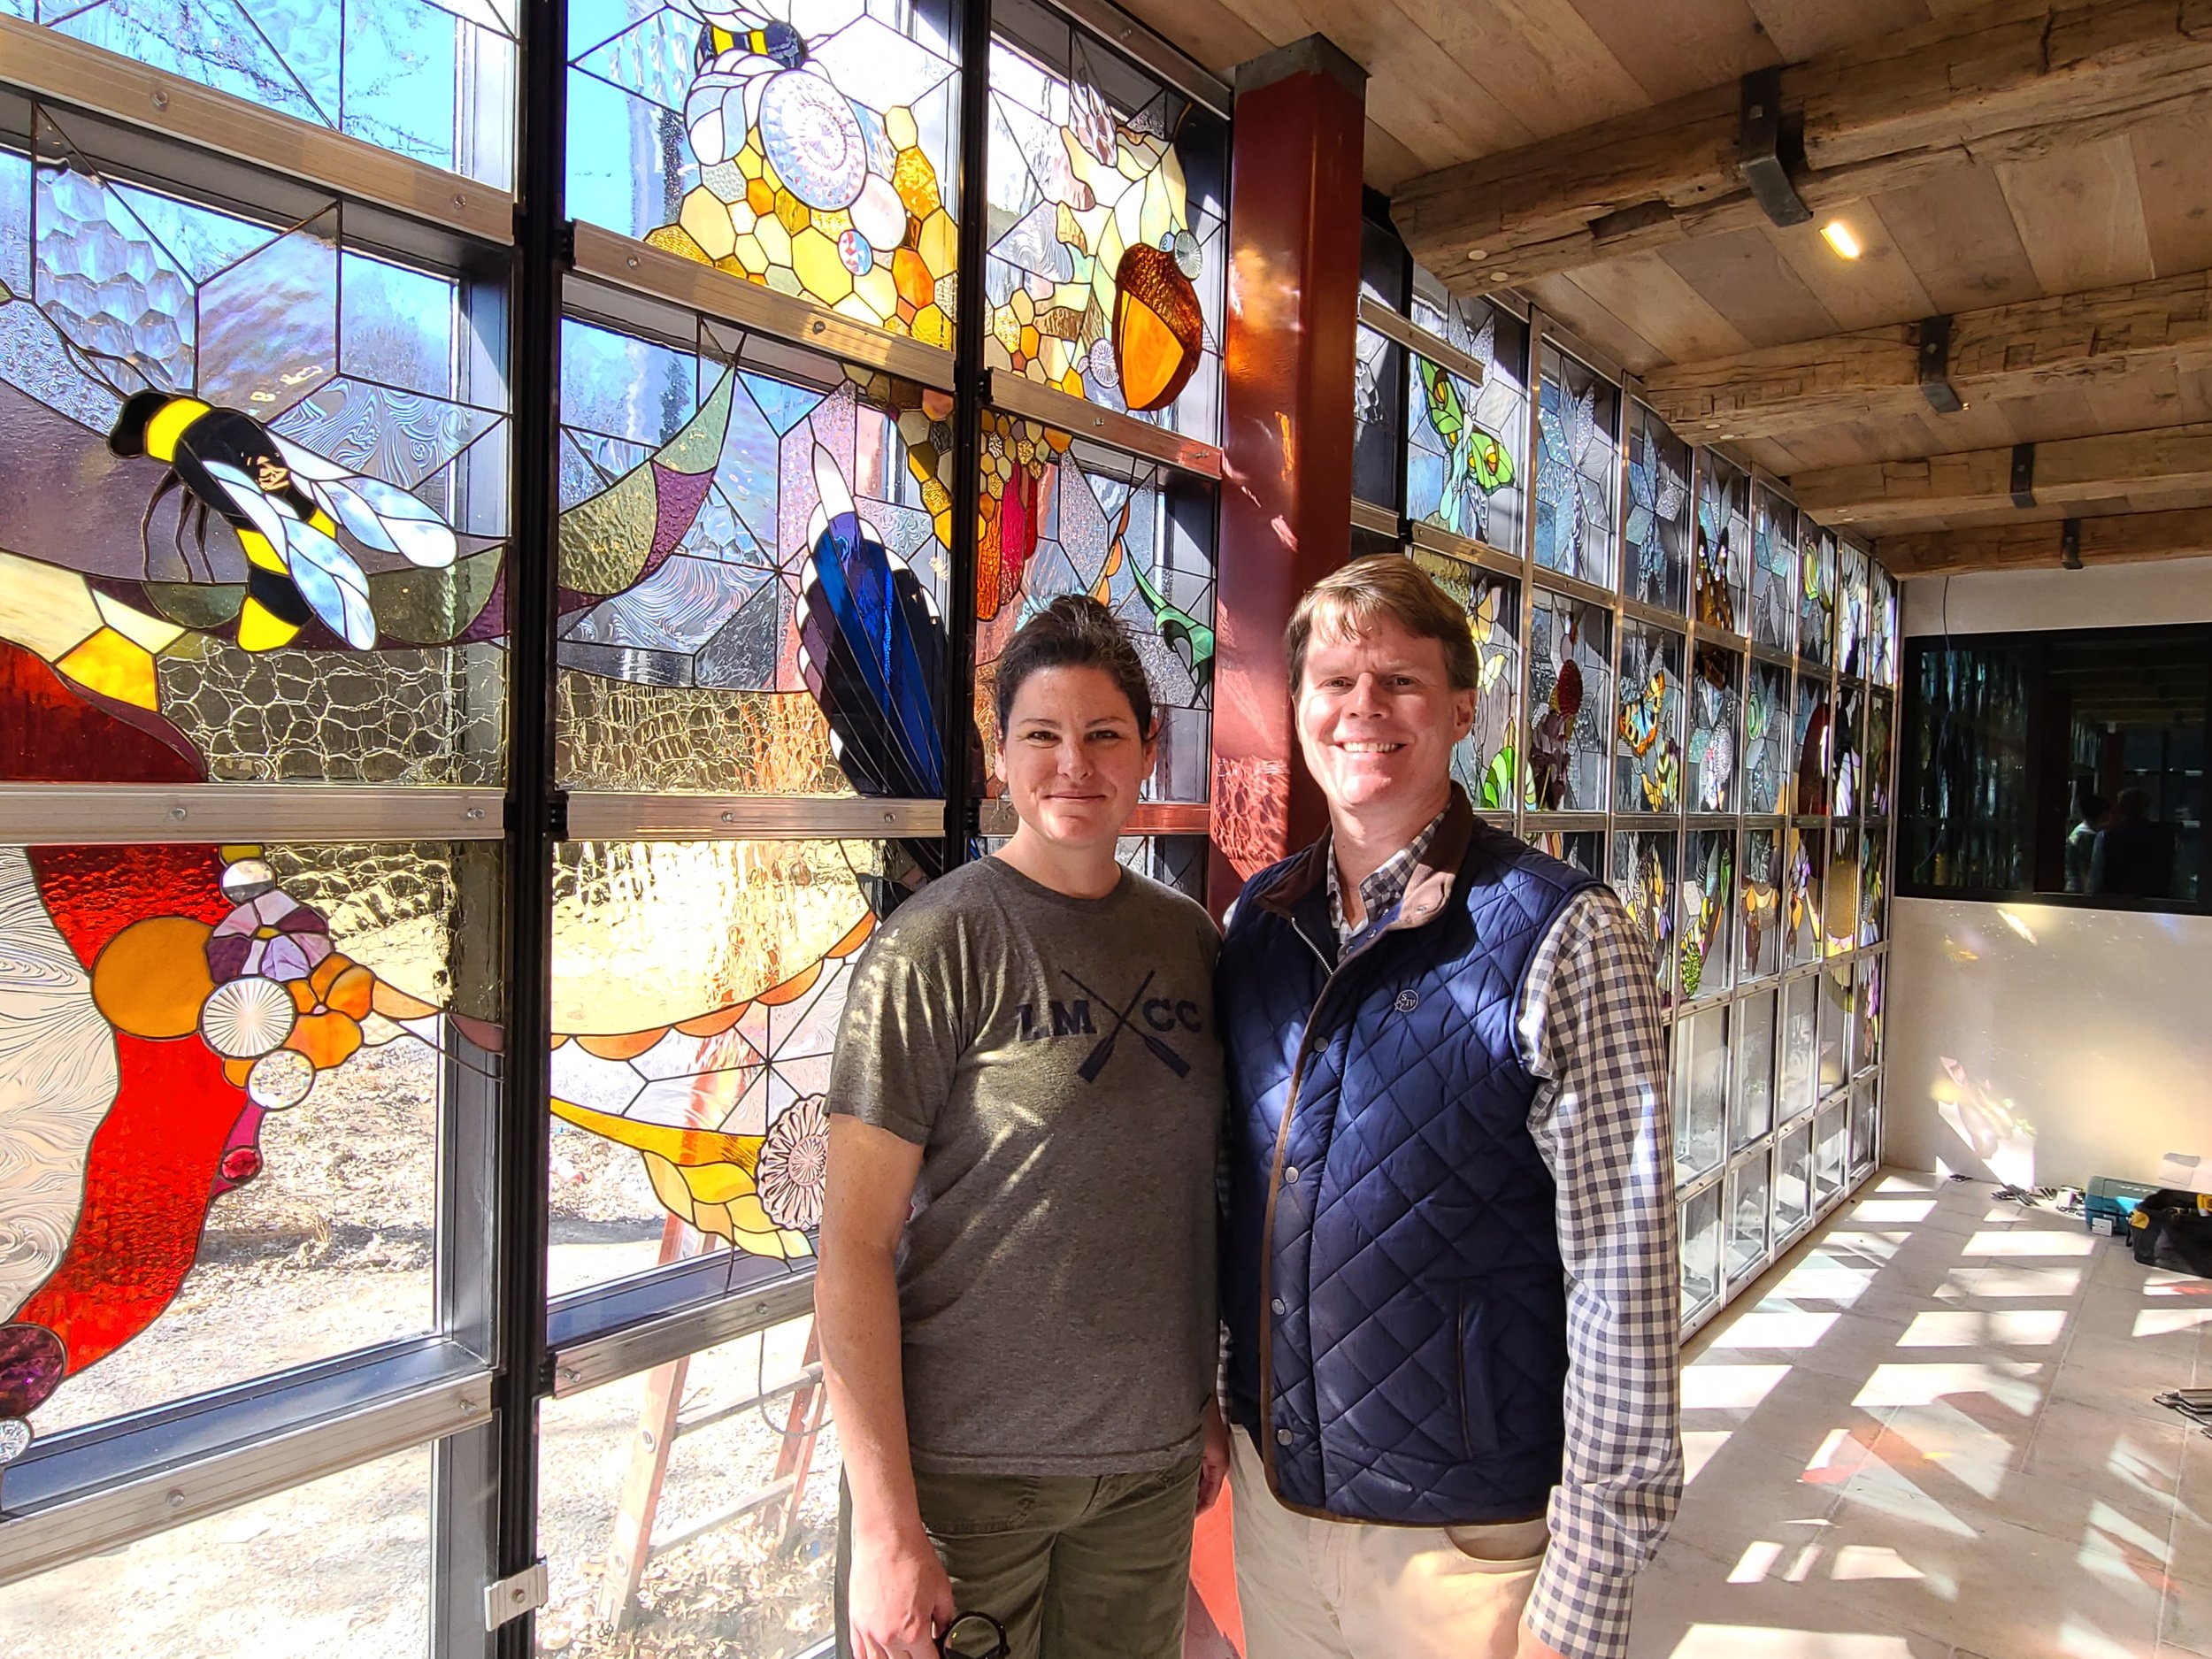
by Robert
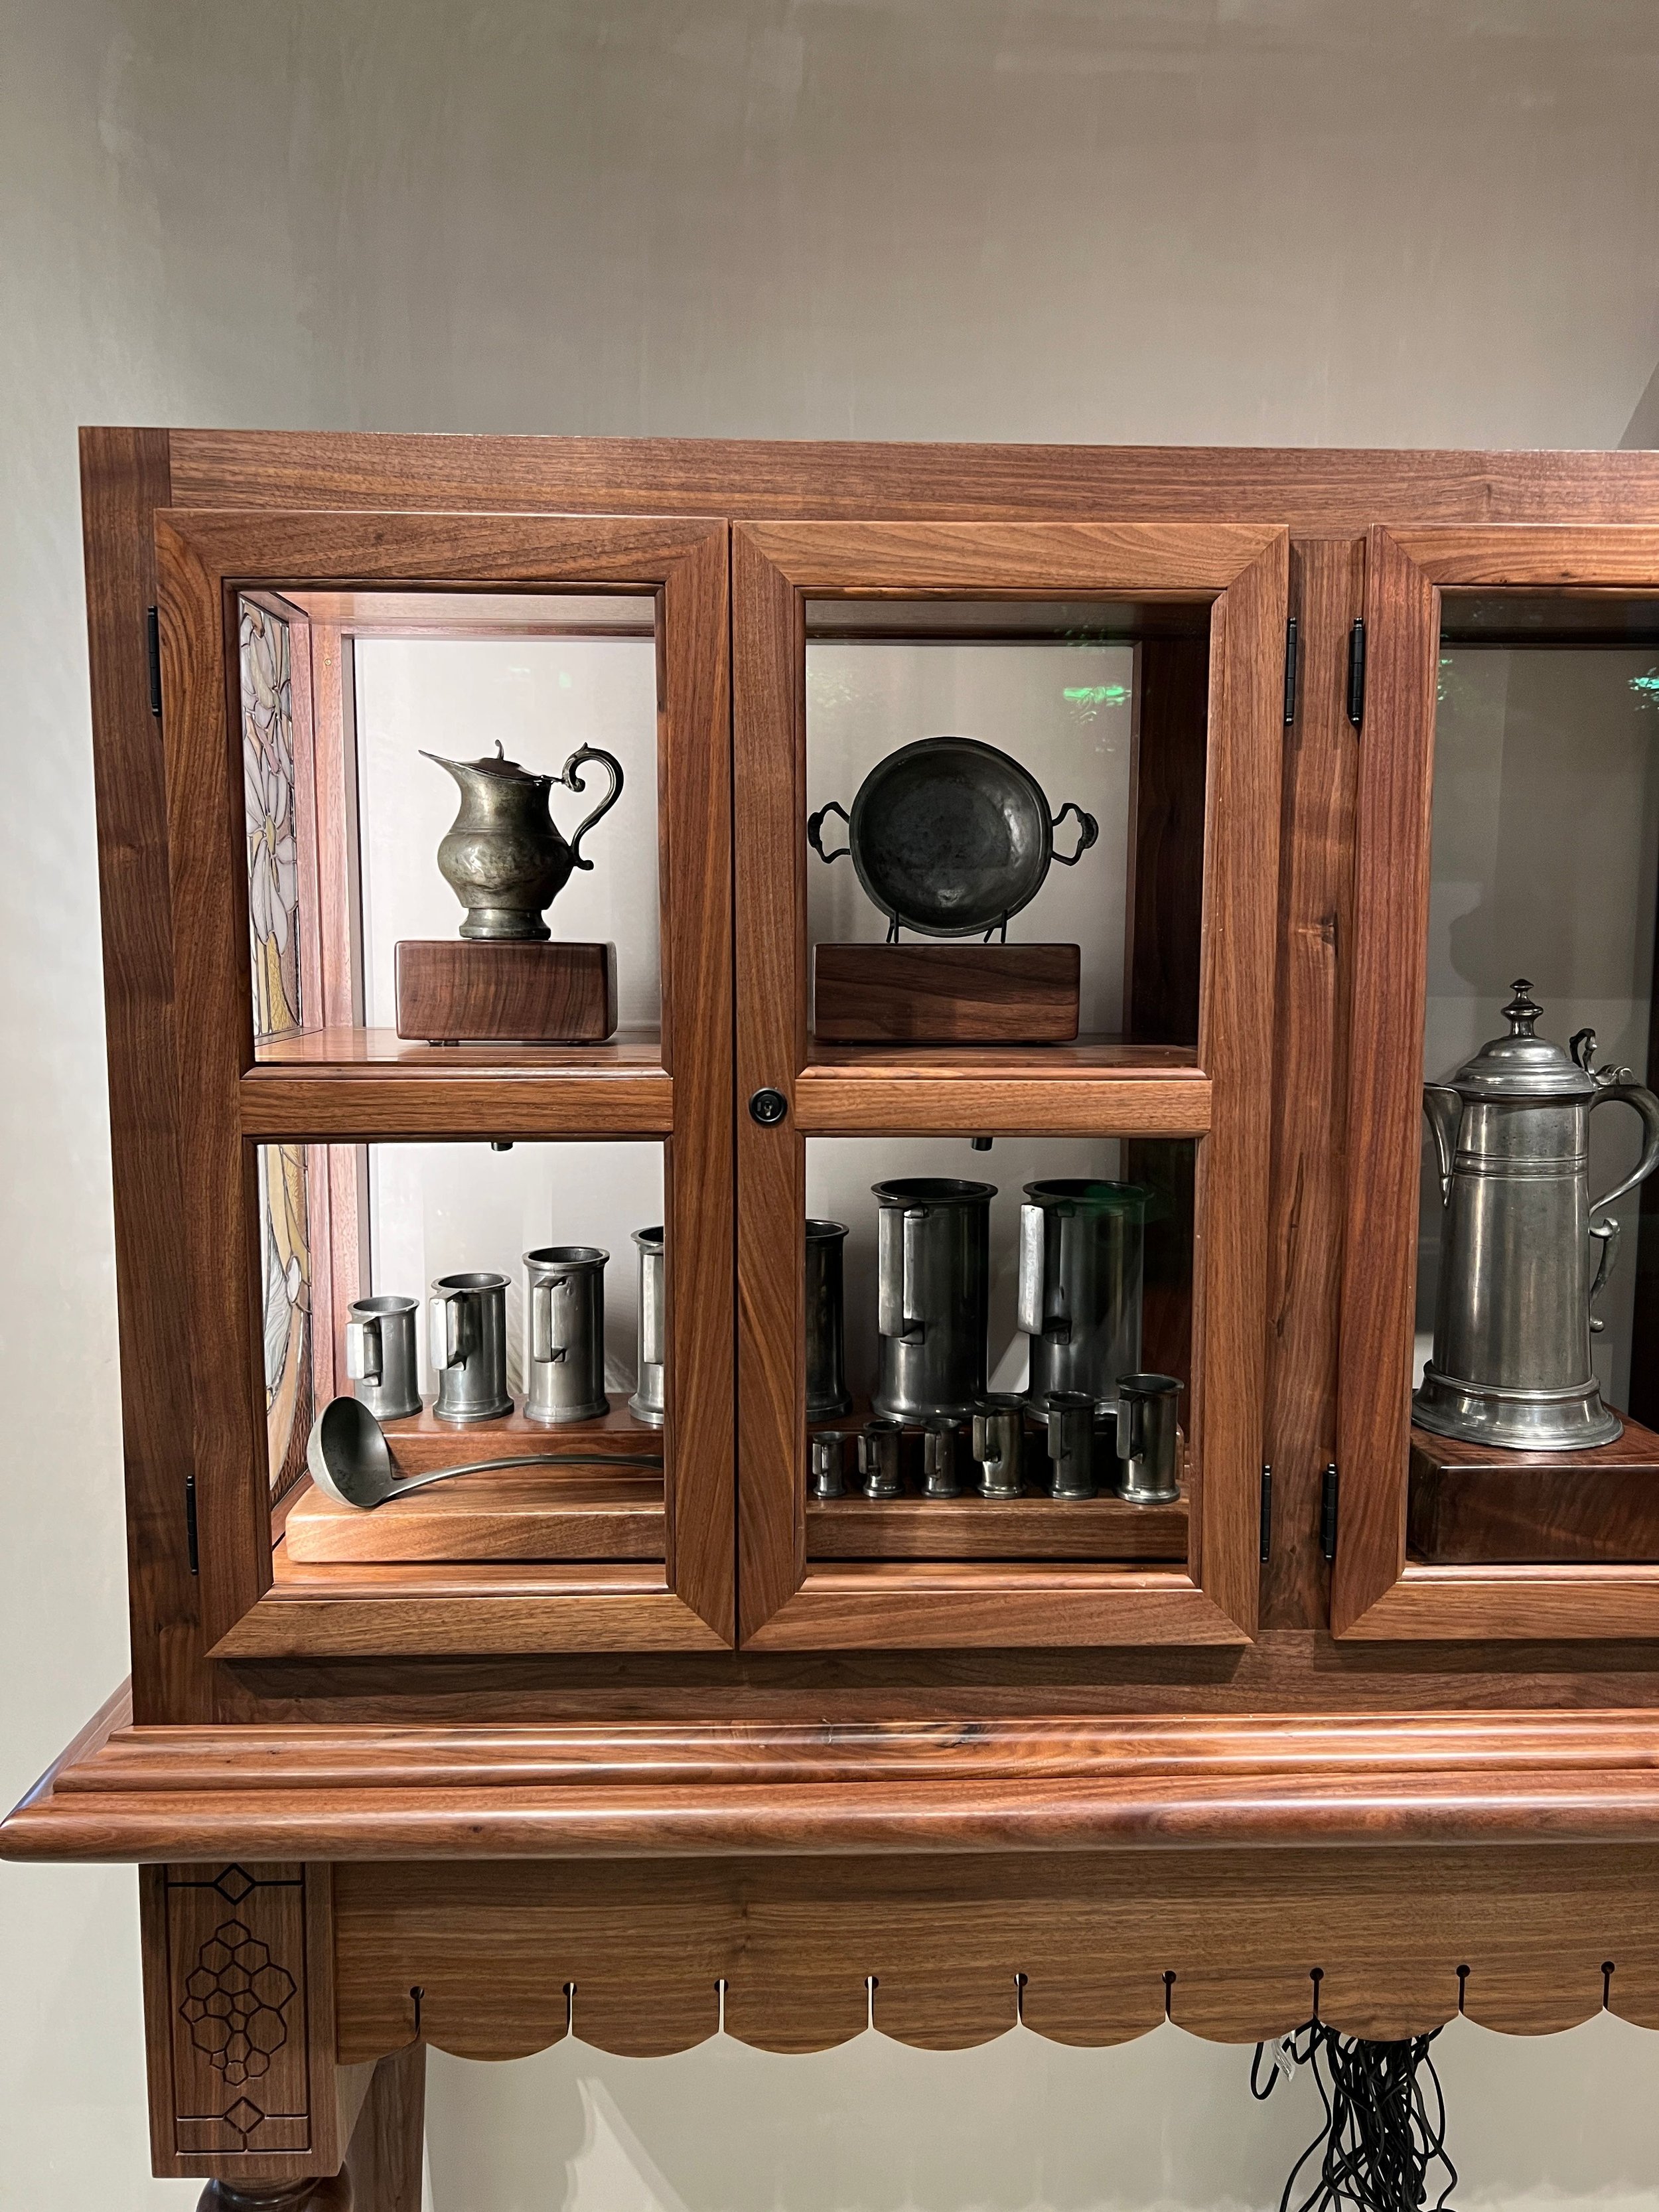
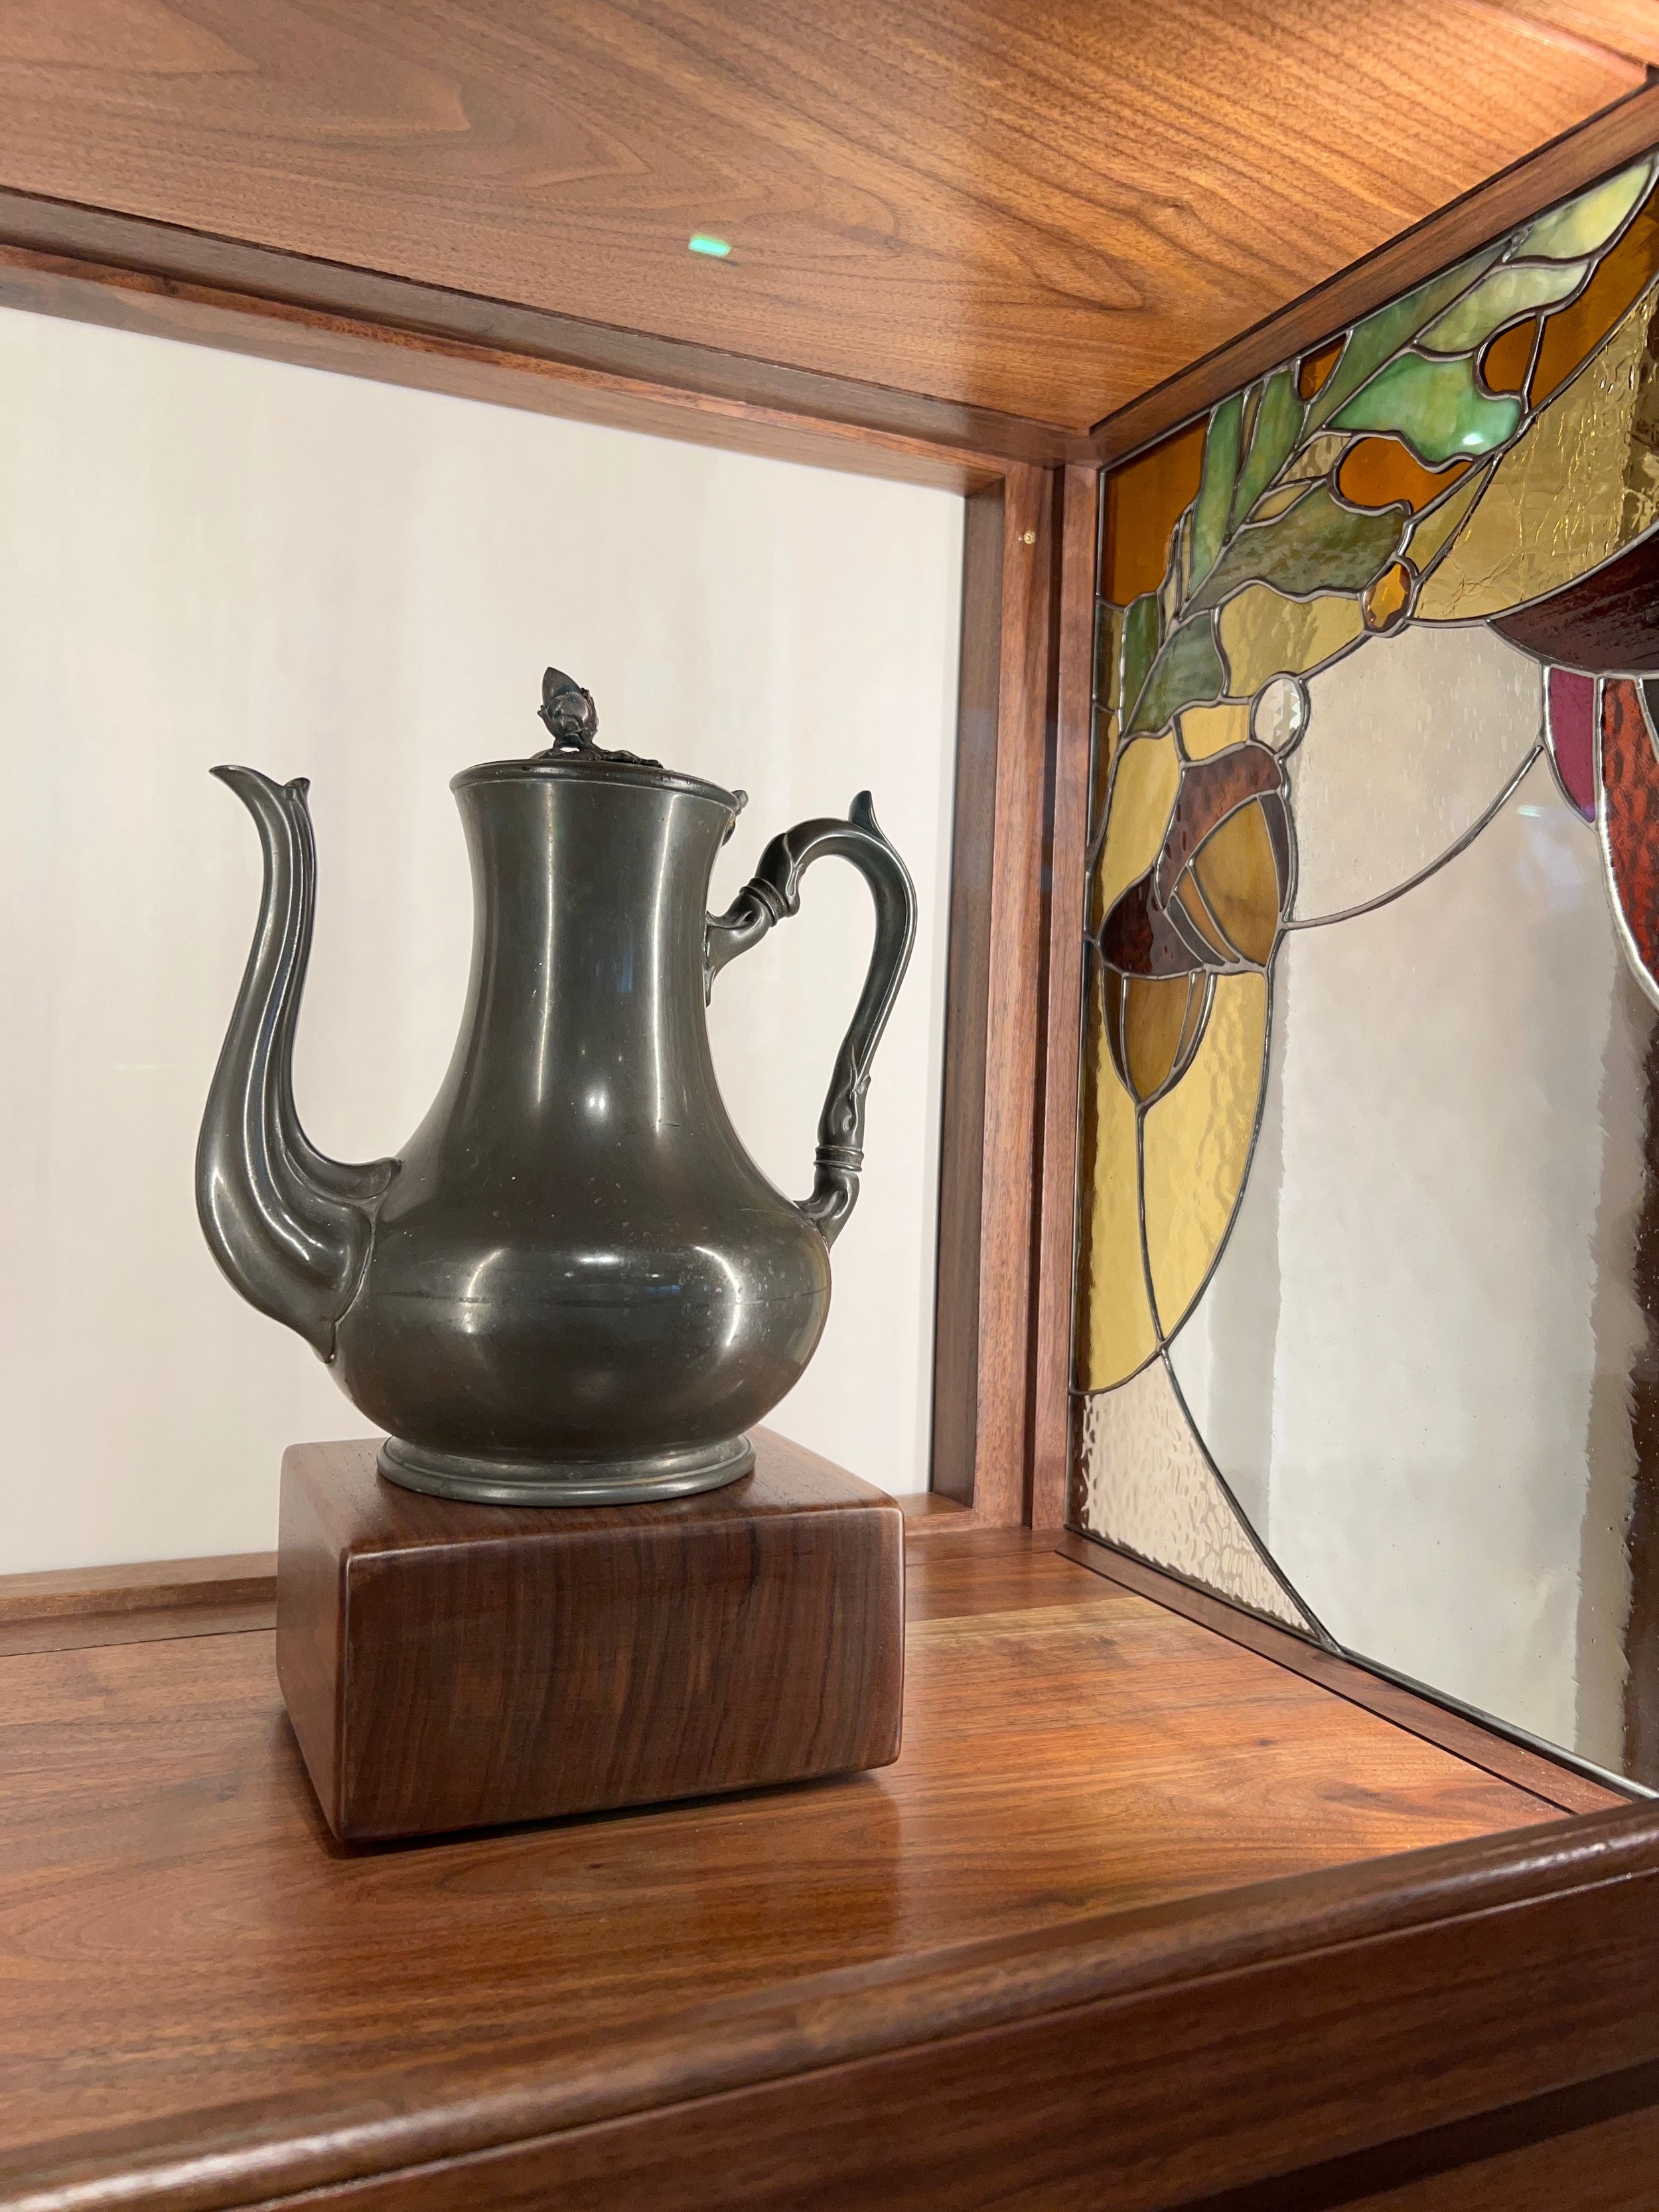
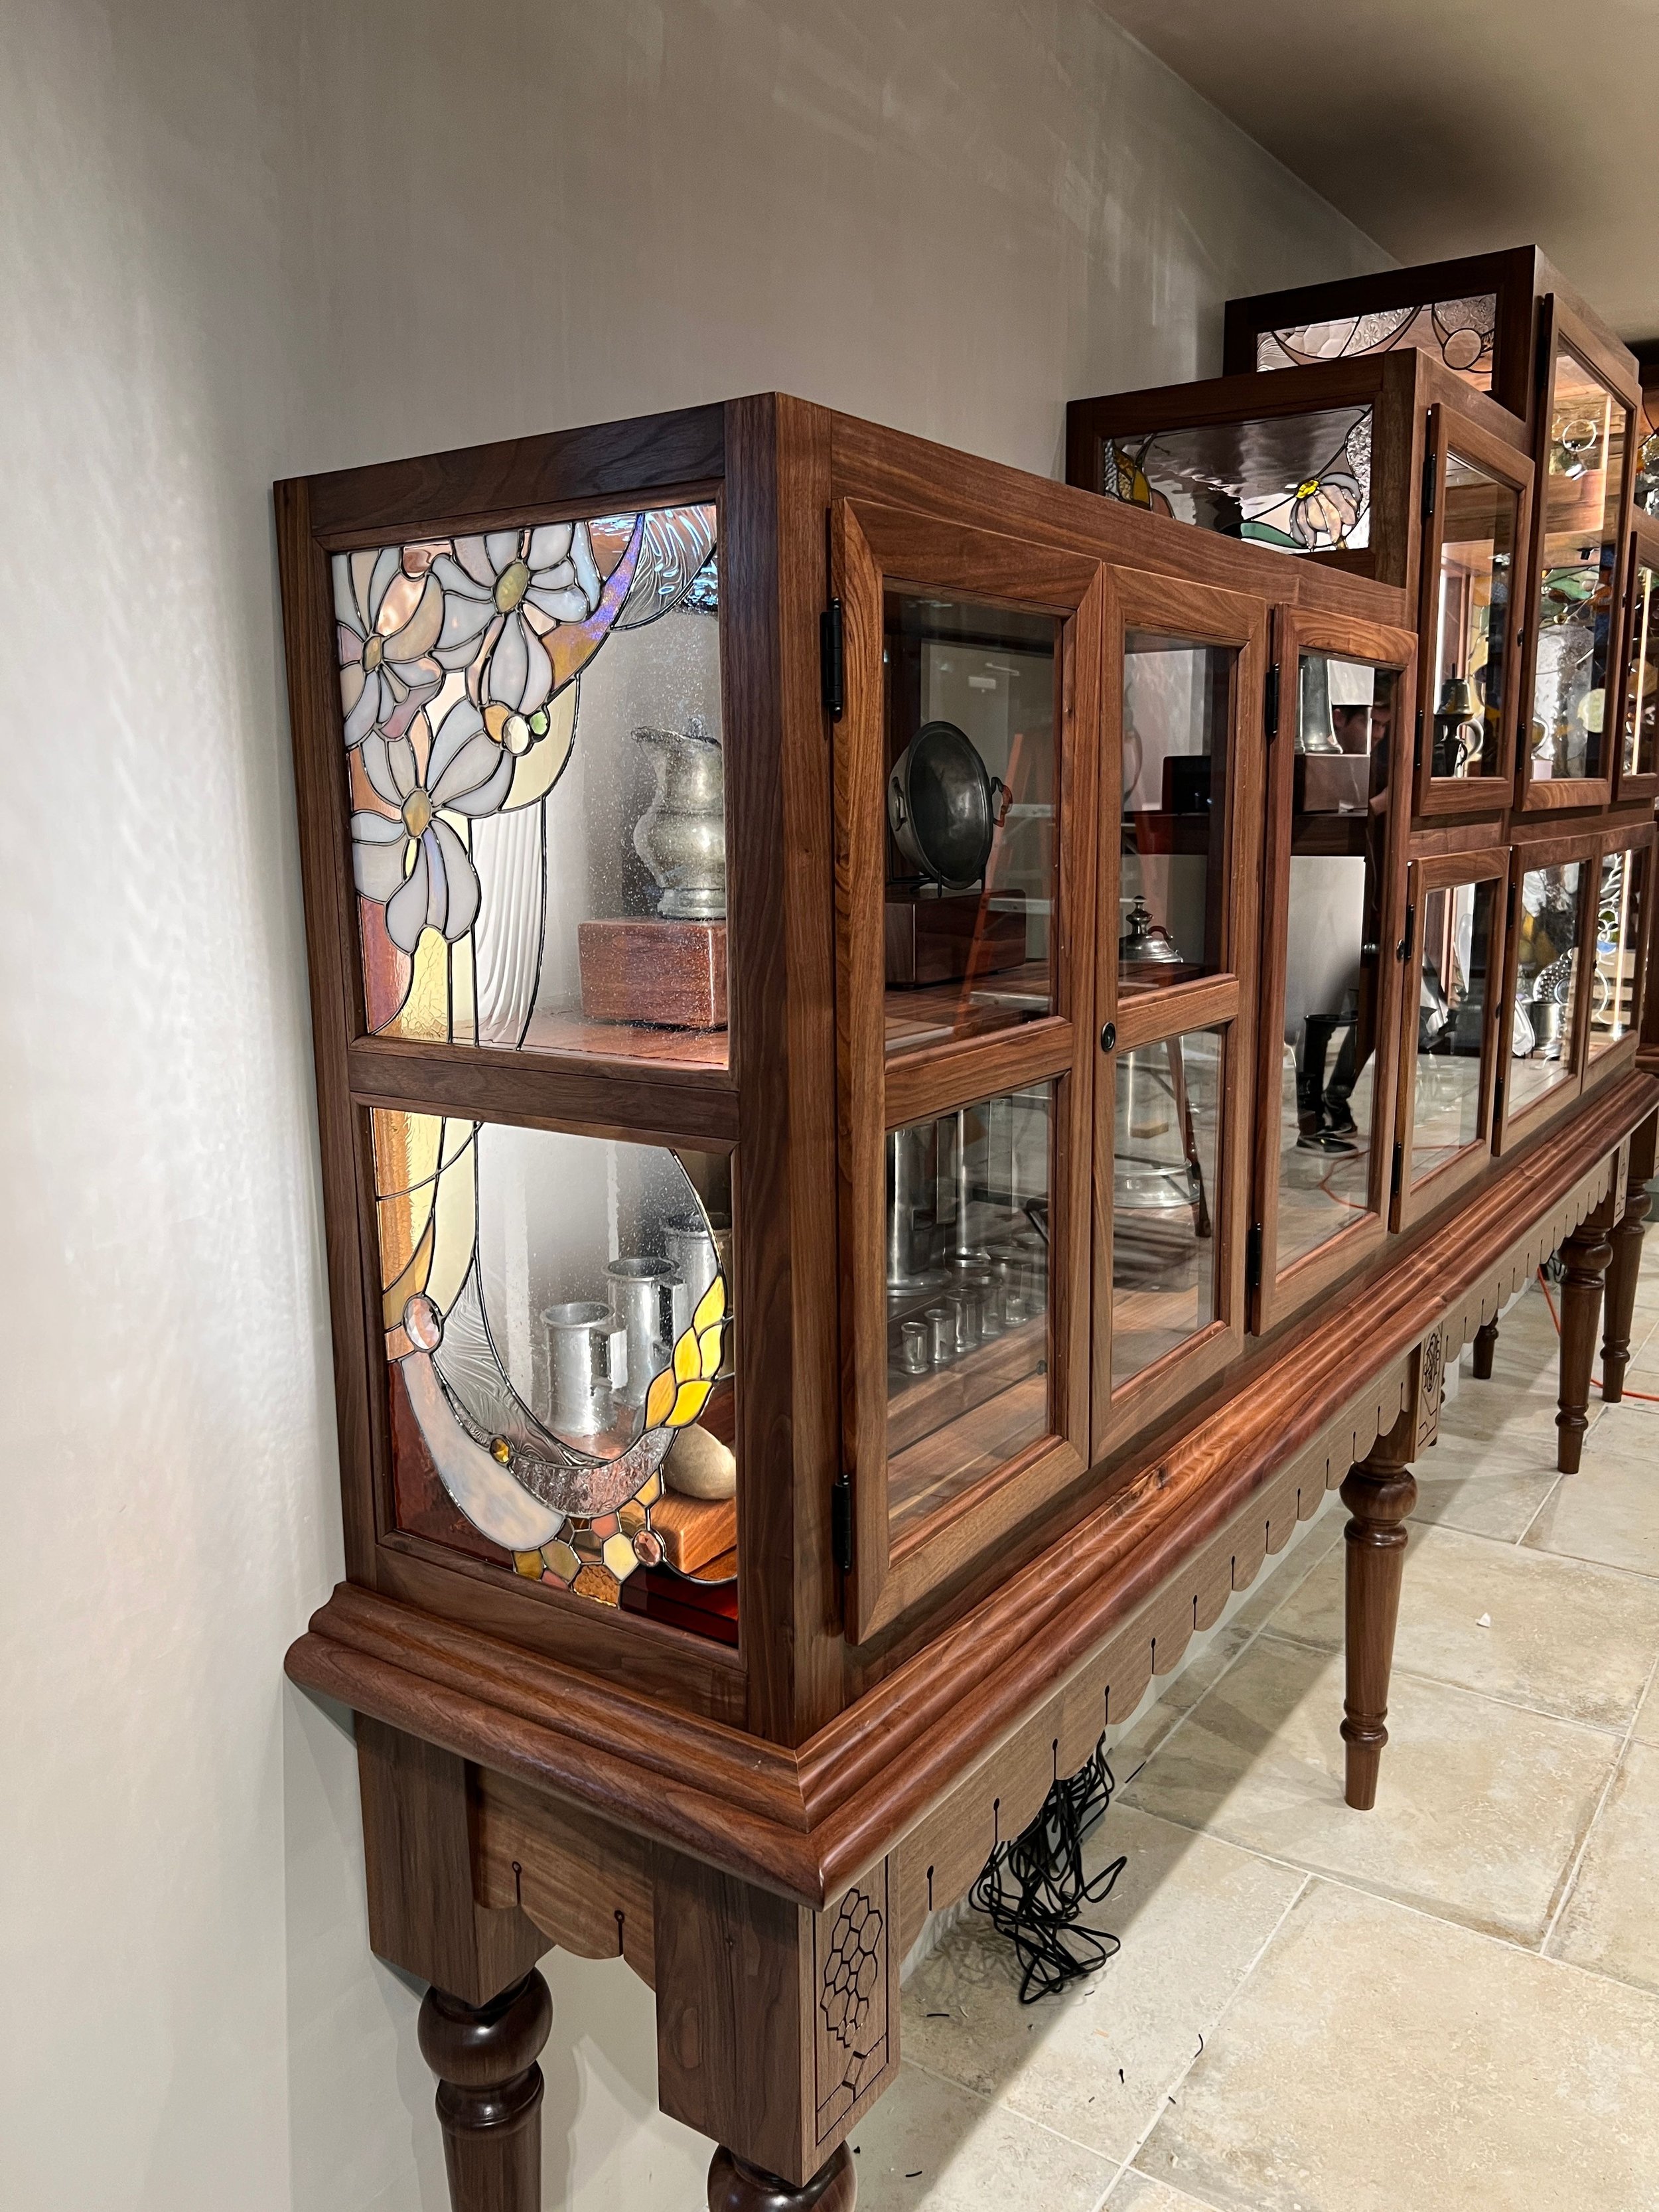
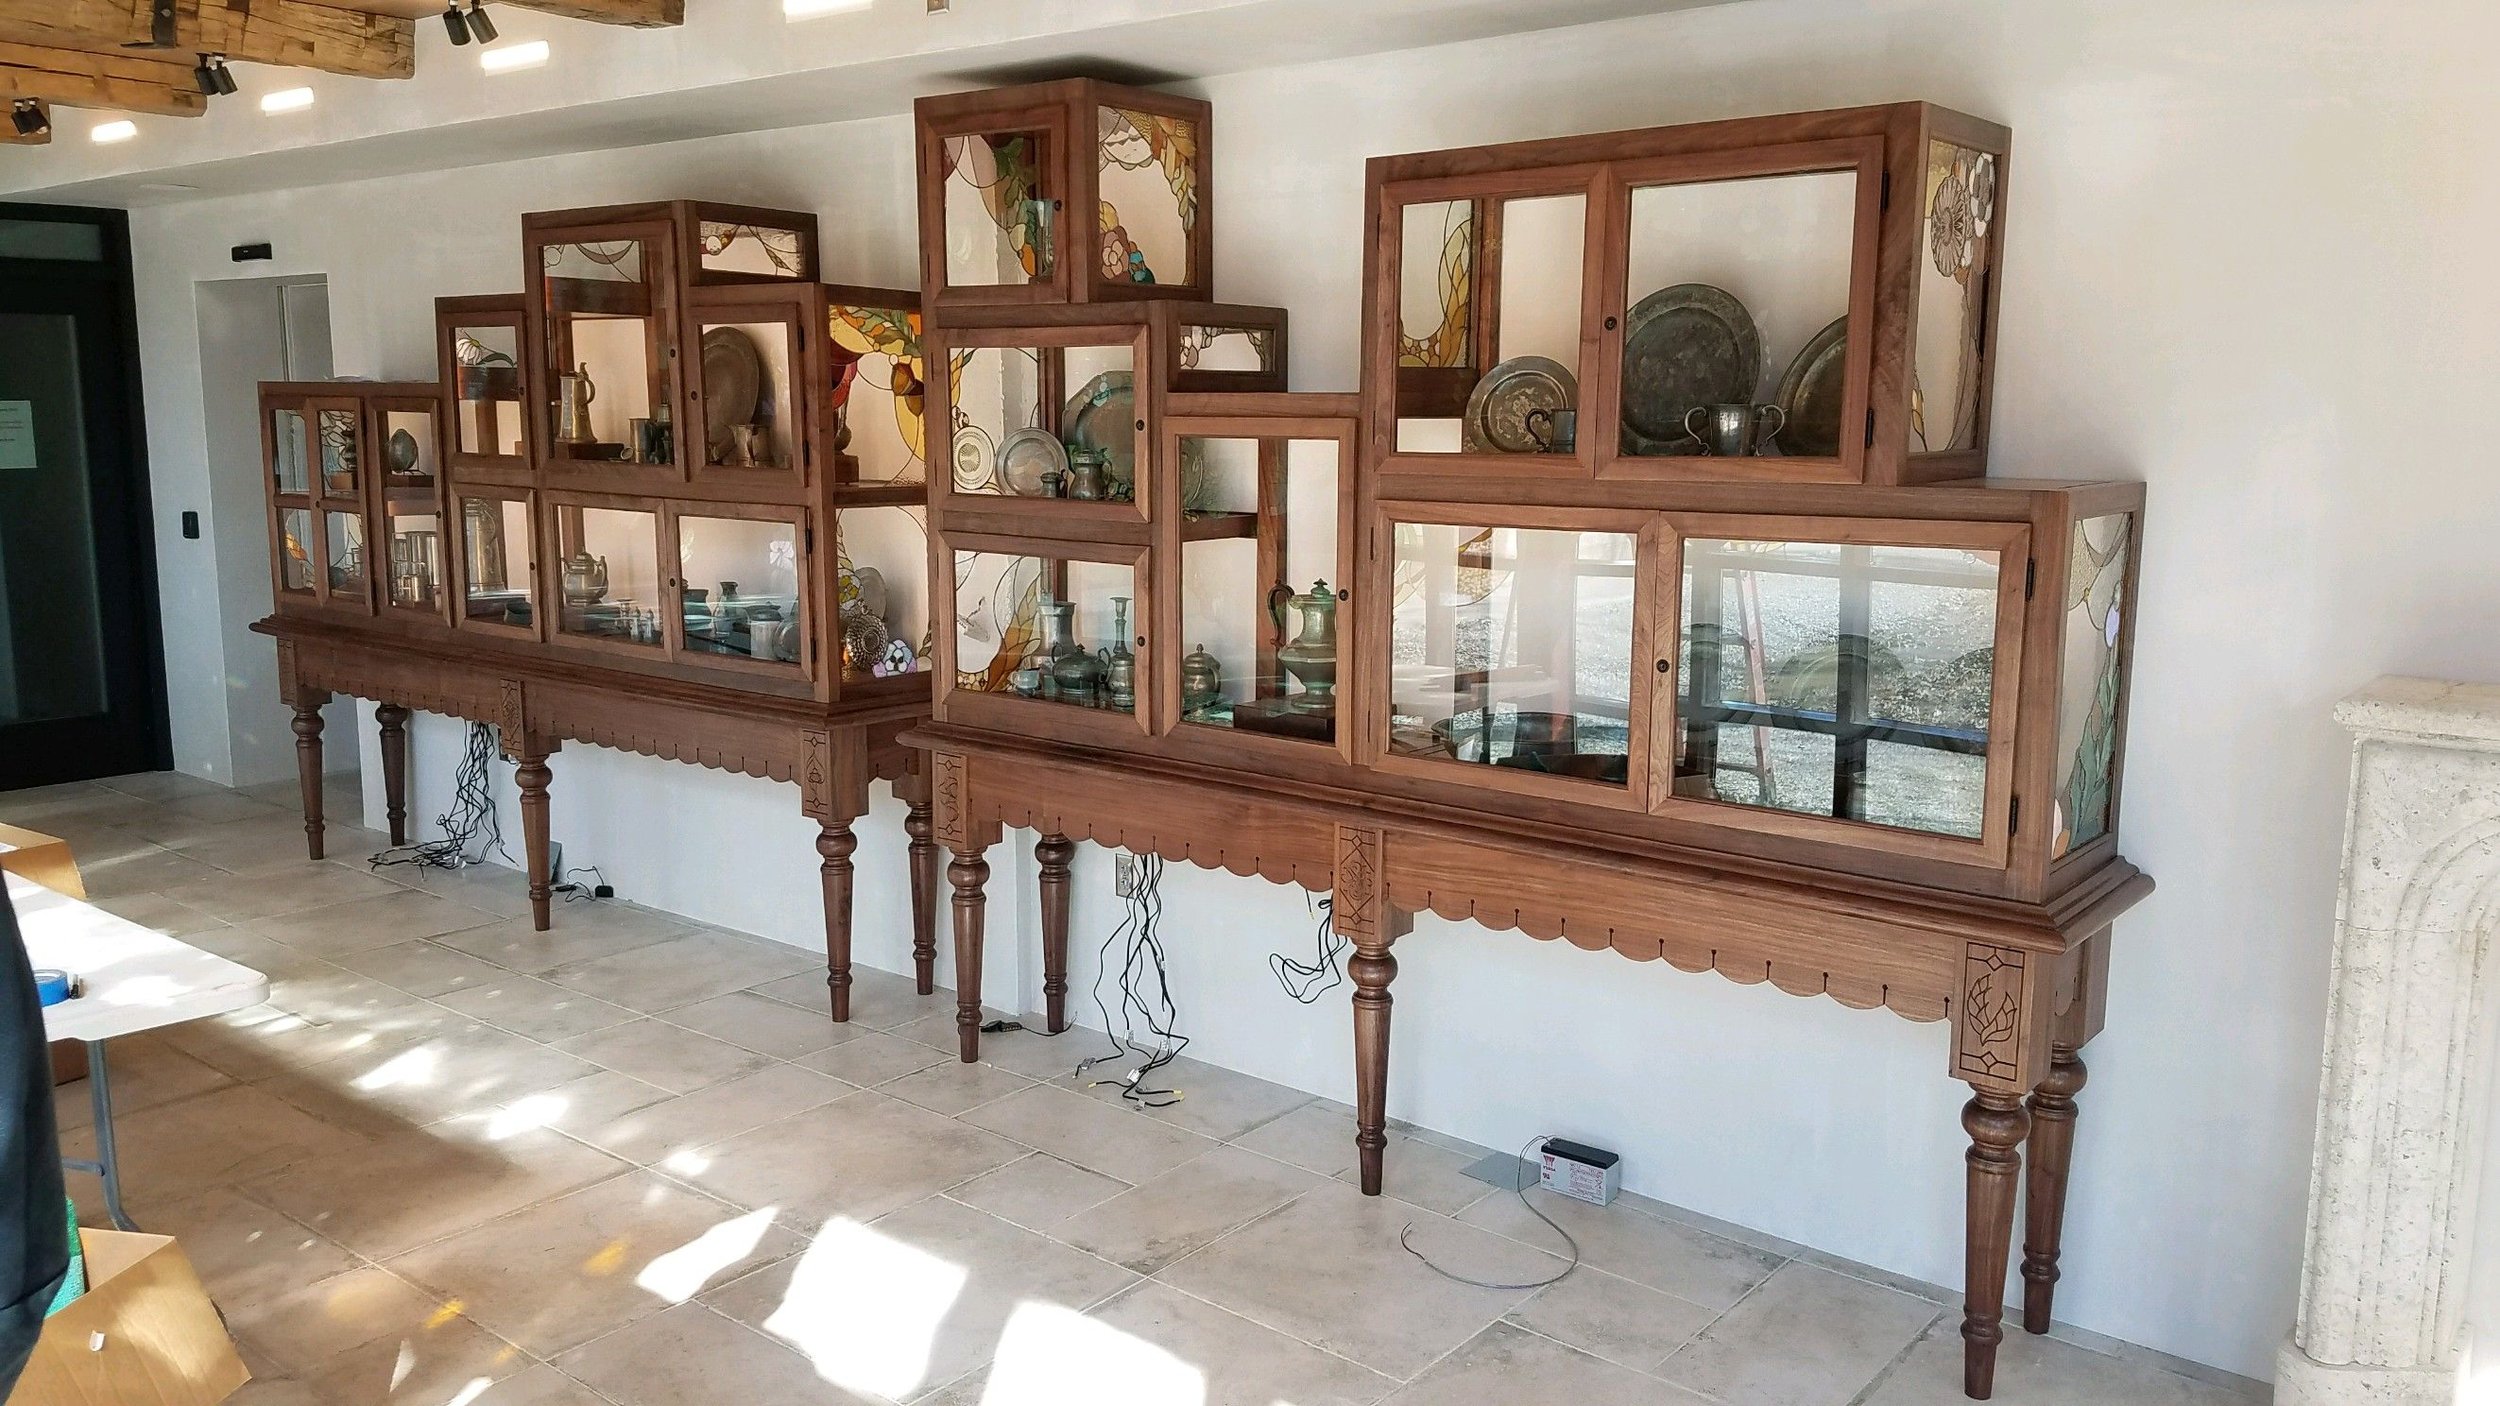
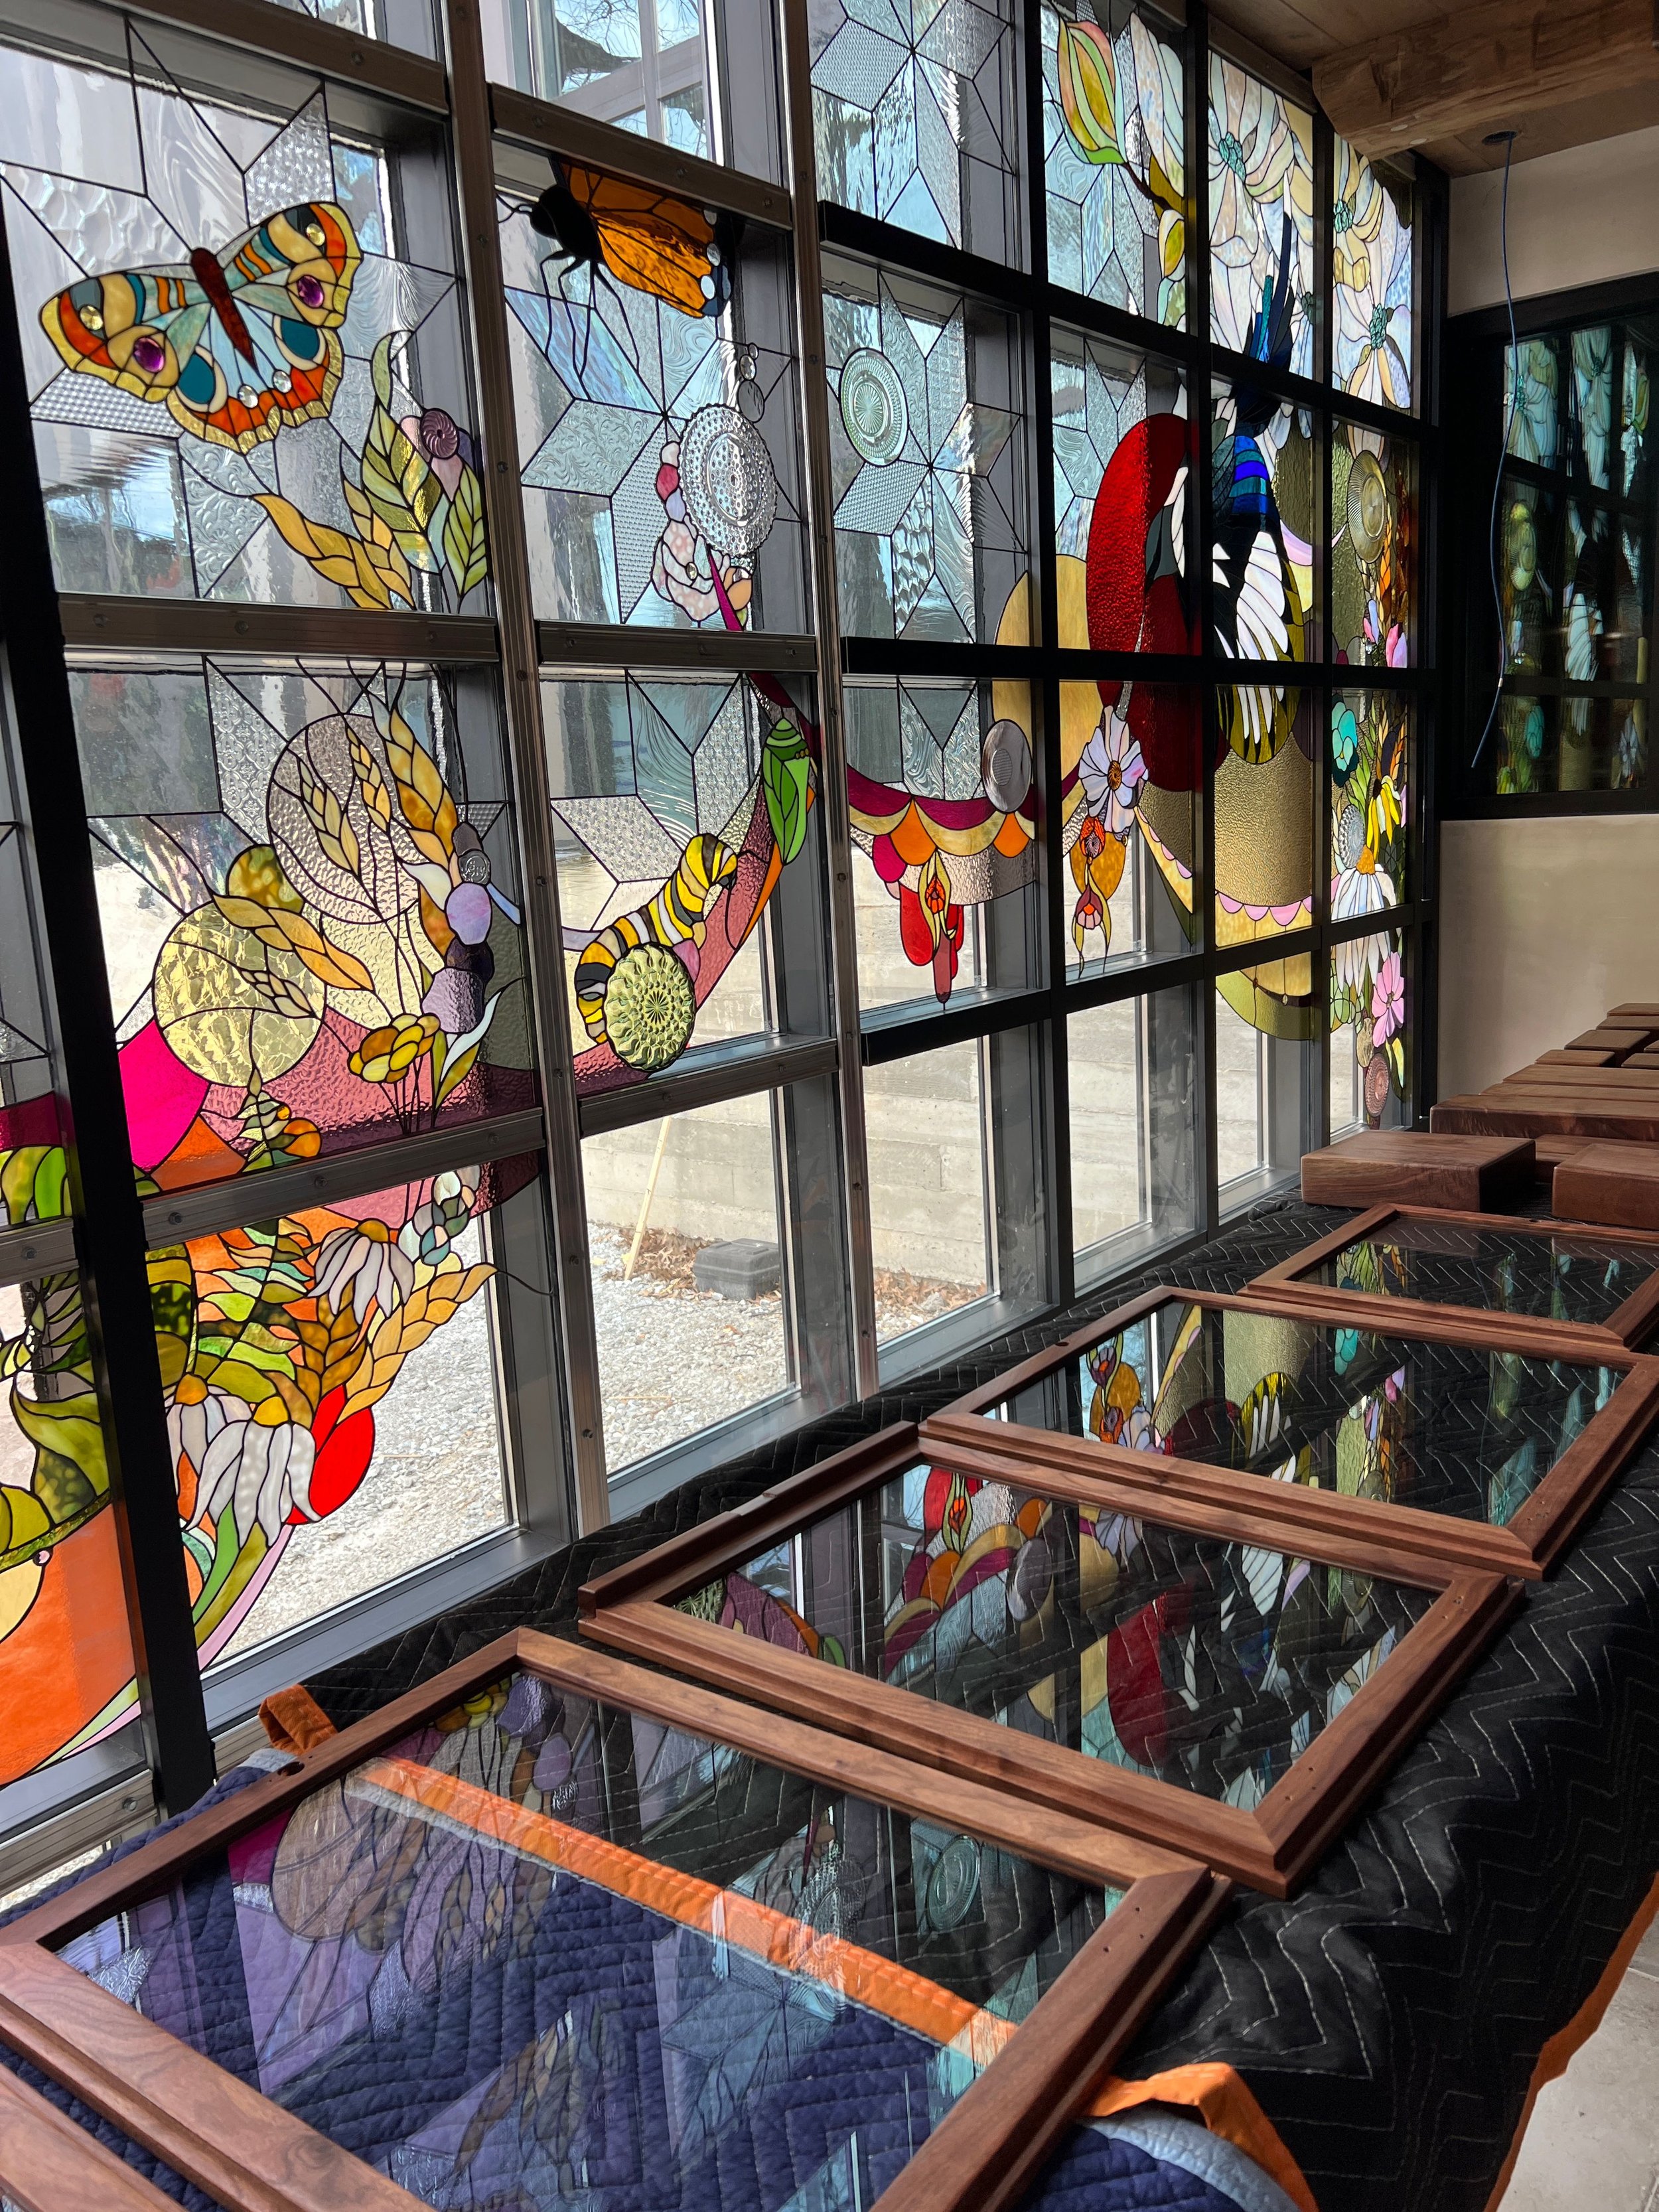
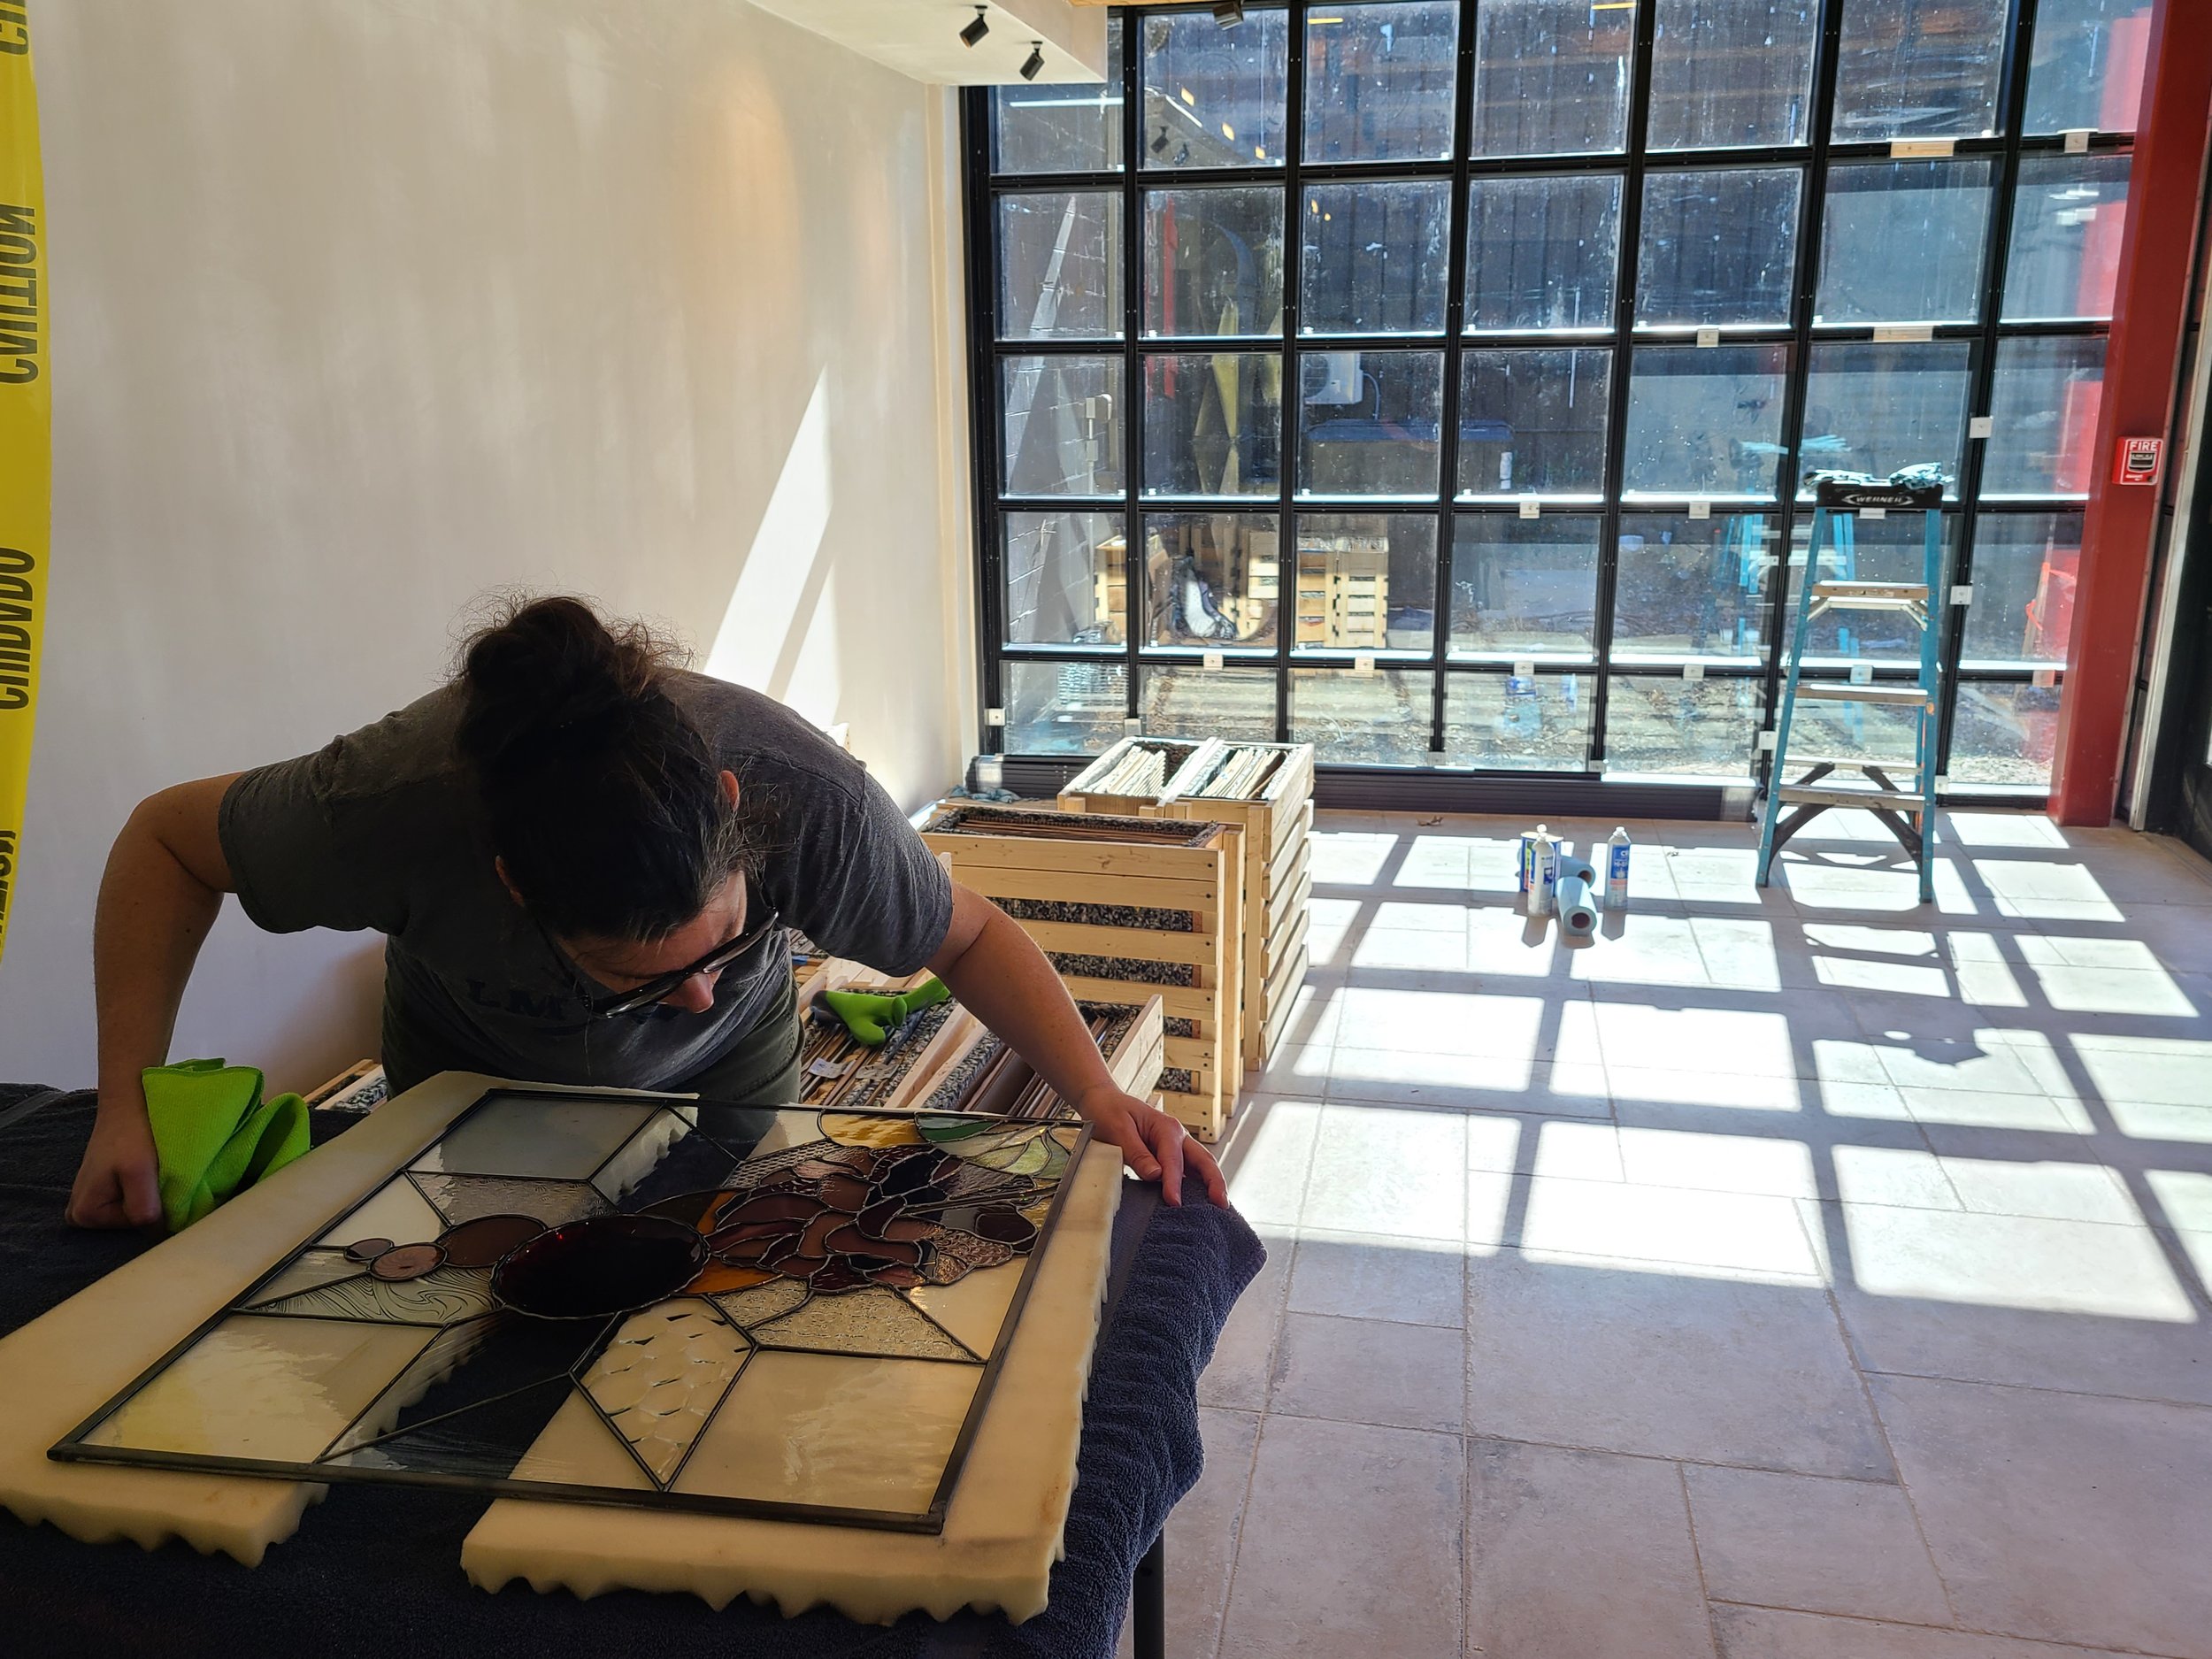
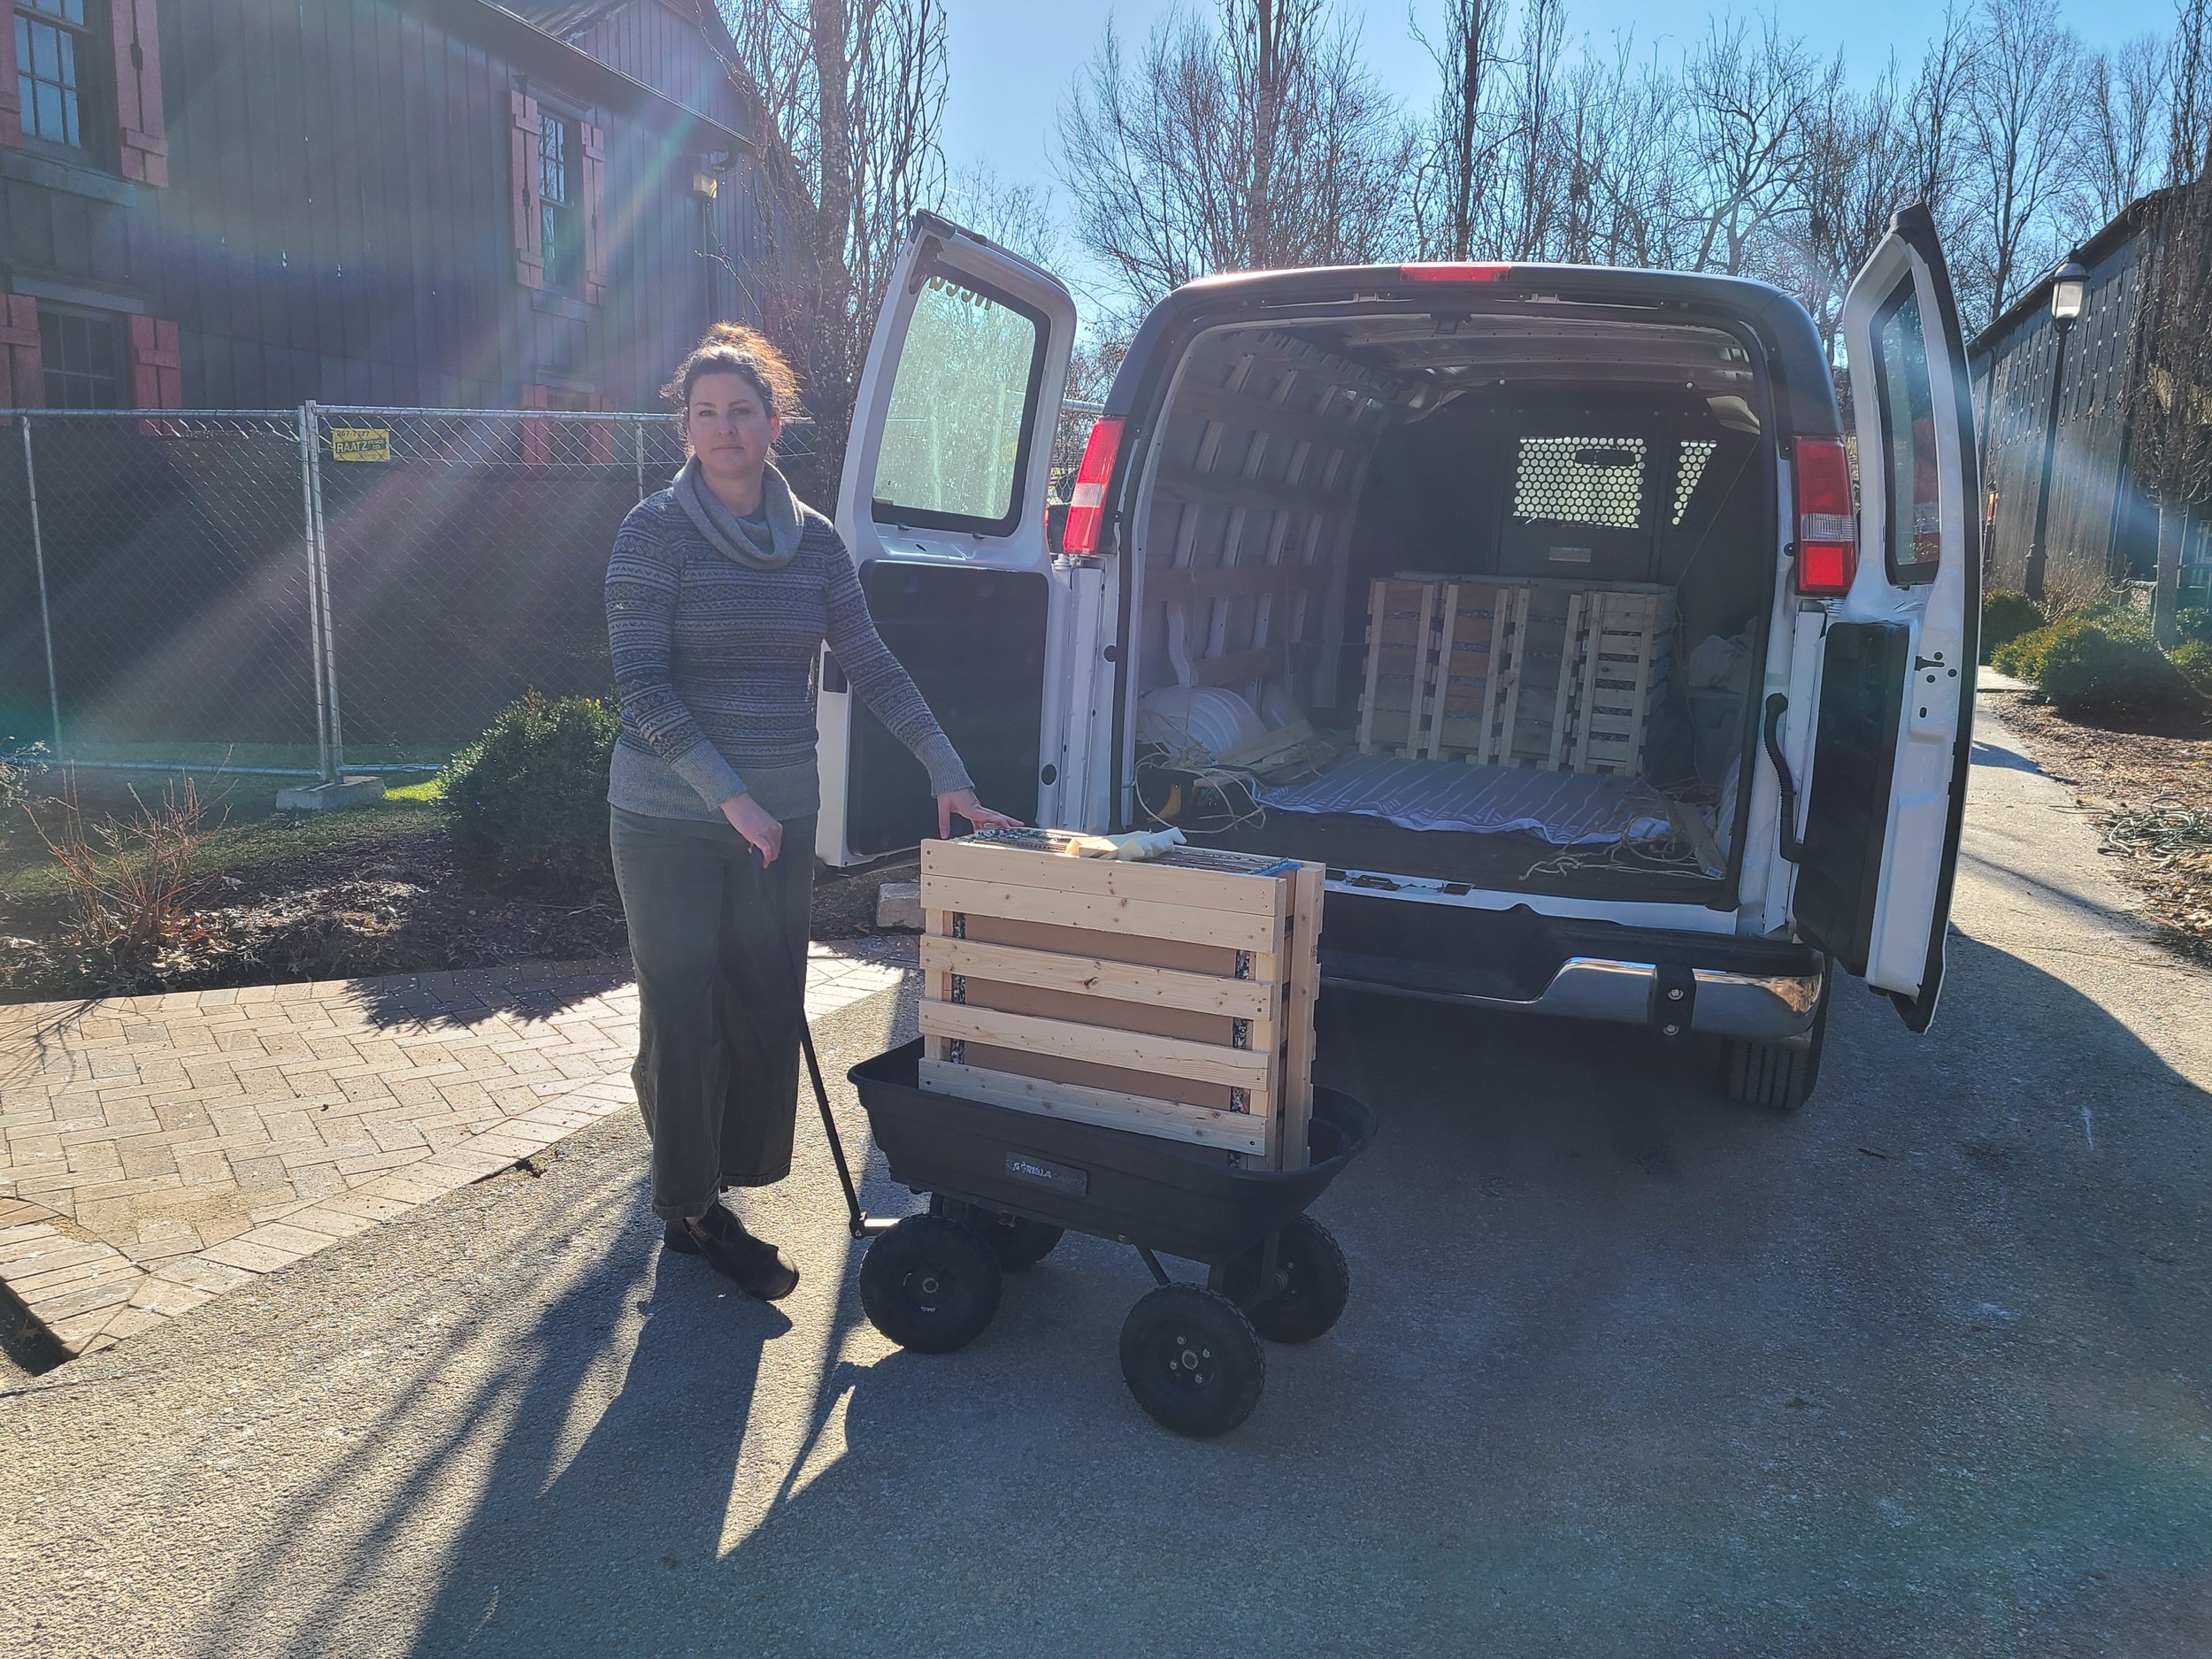
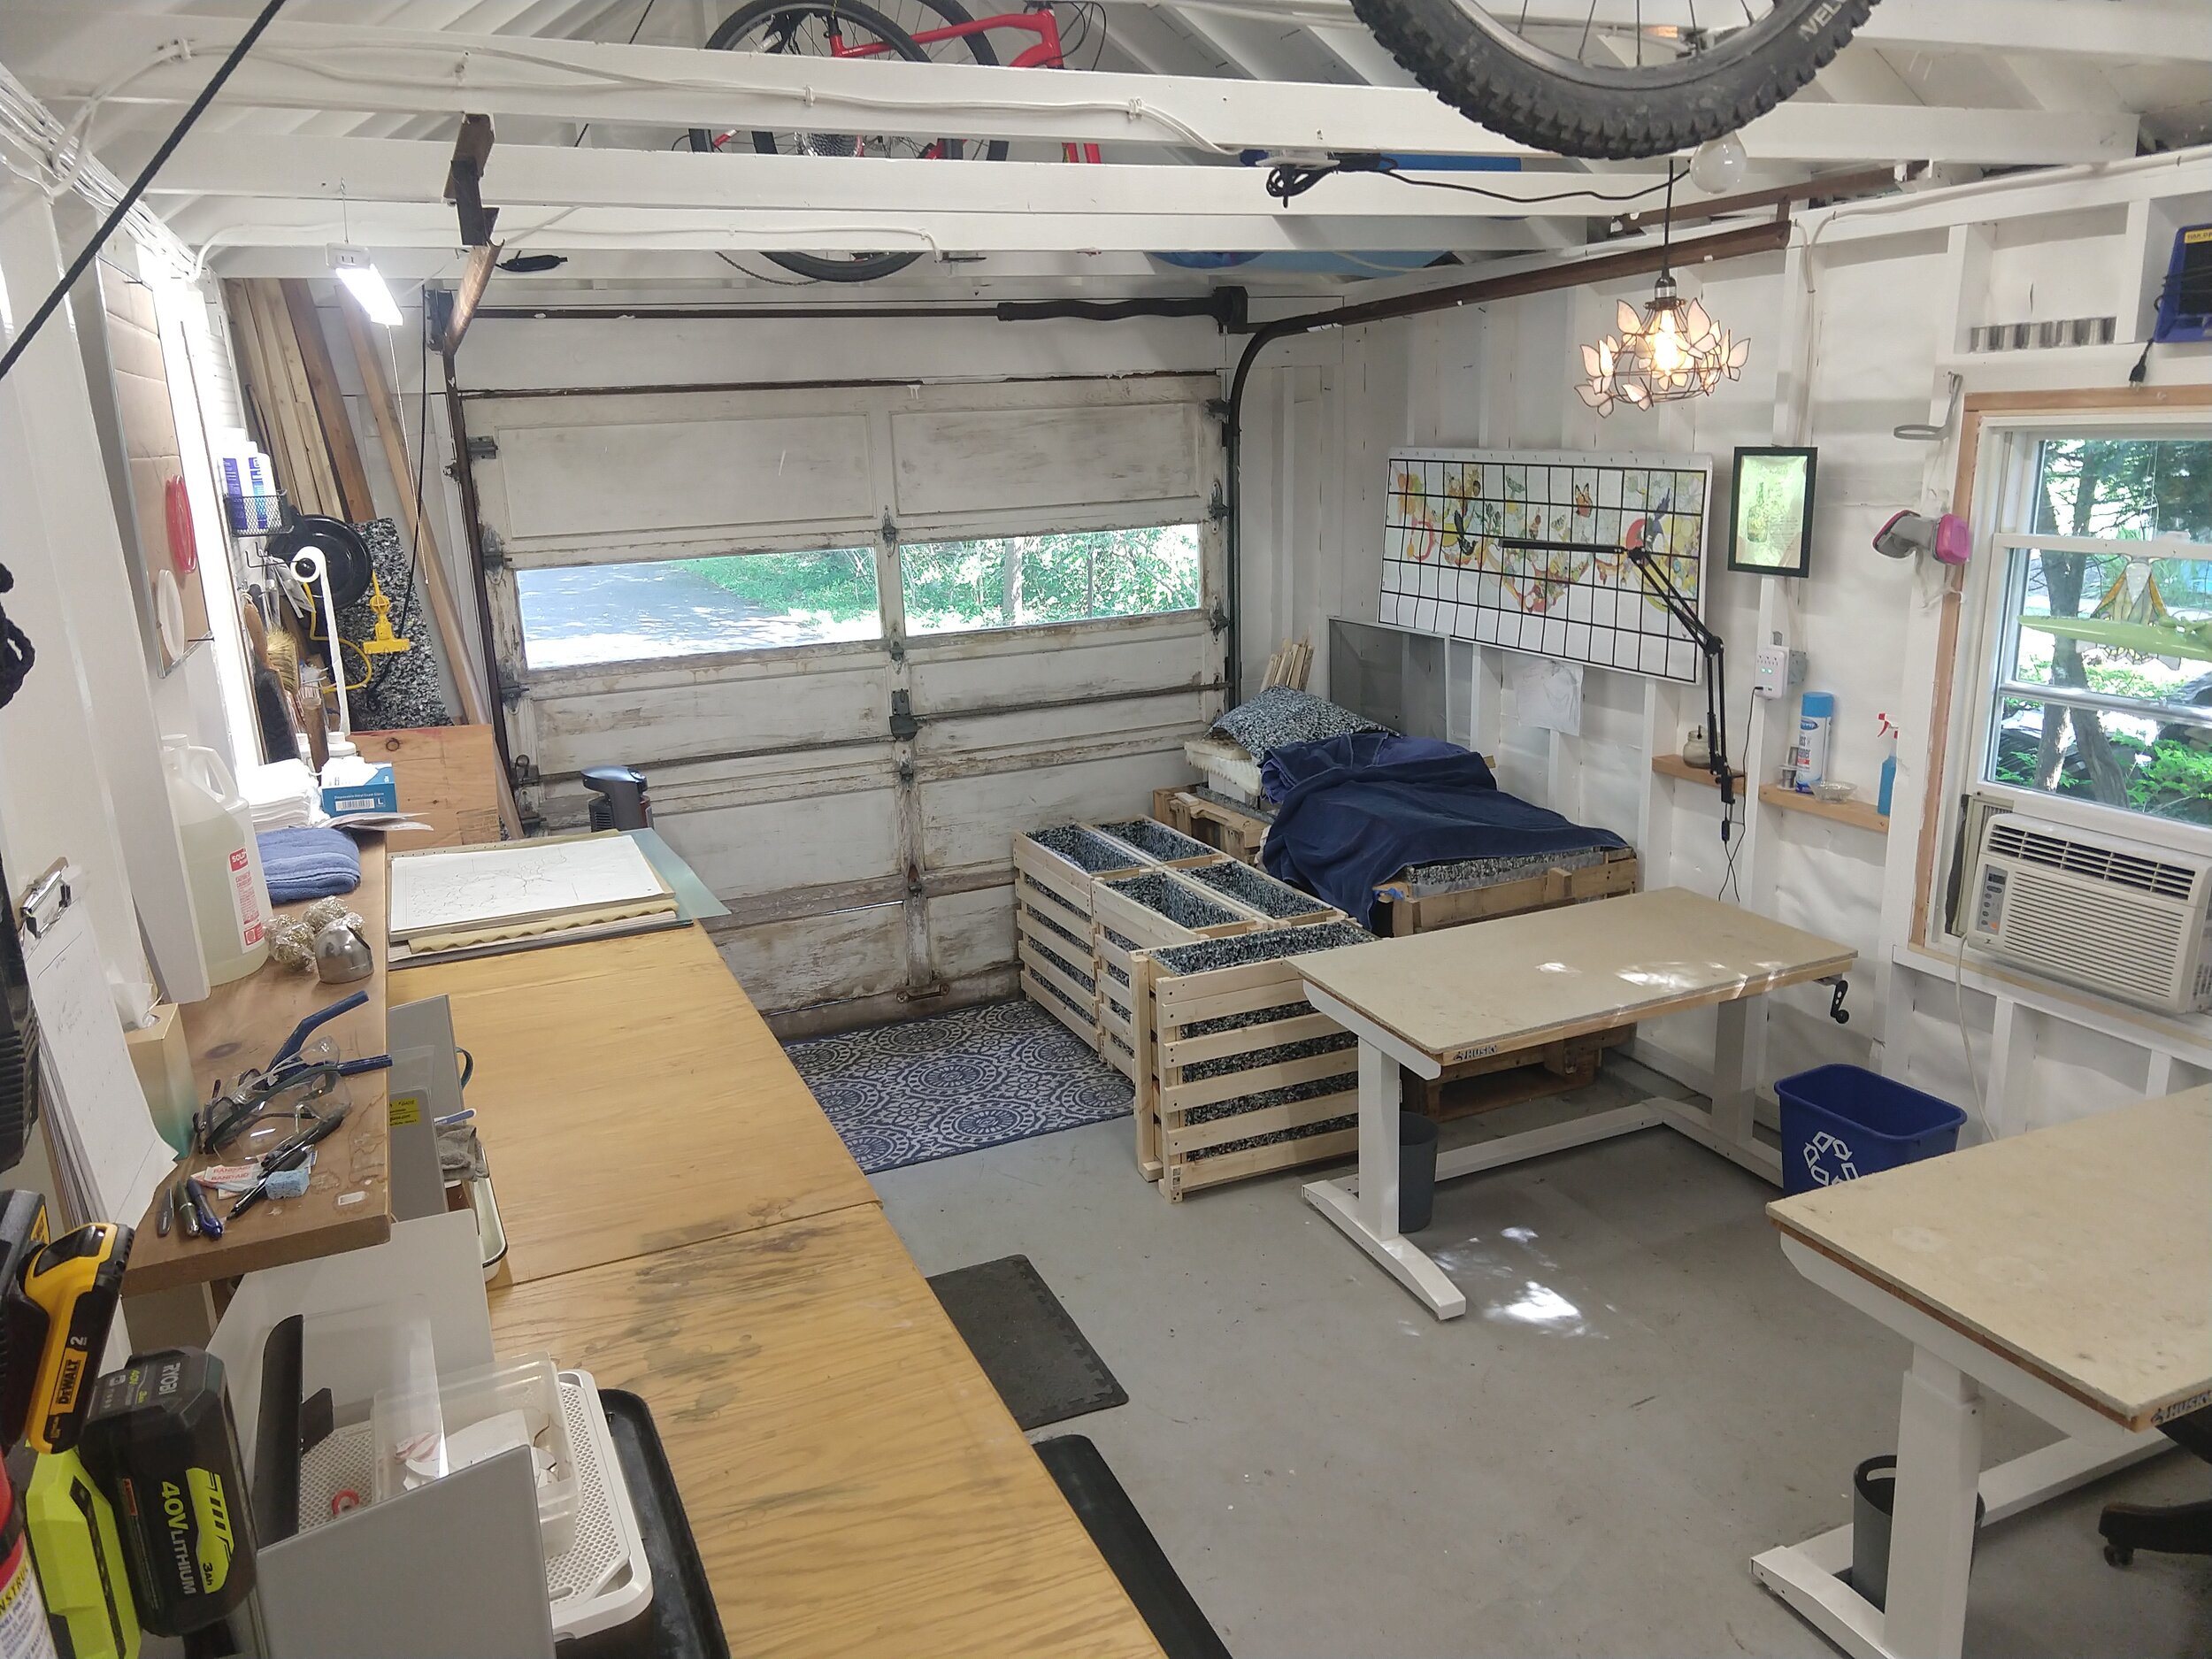
It’s almost a year since my preliminary statistics calculations, so now that I’m tying up loose ends, here’s the finalized numbers to the best of my knowledge. These stats include the front and side walls of the vestibule, but not all of the cabinetry panels, because I’m tired of counting things.
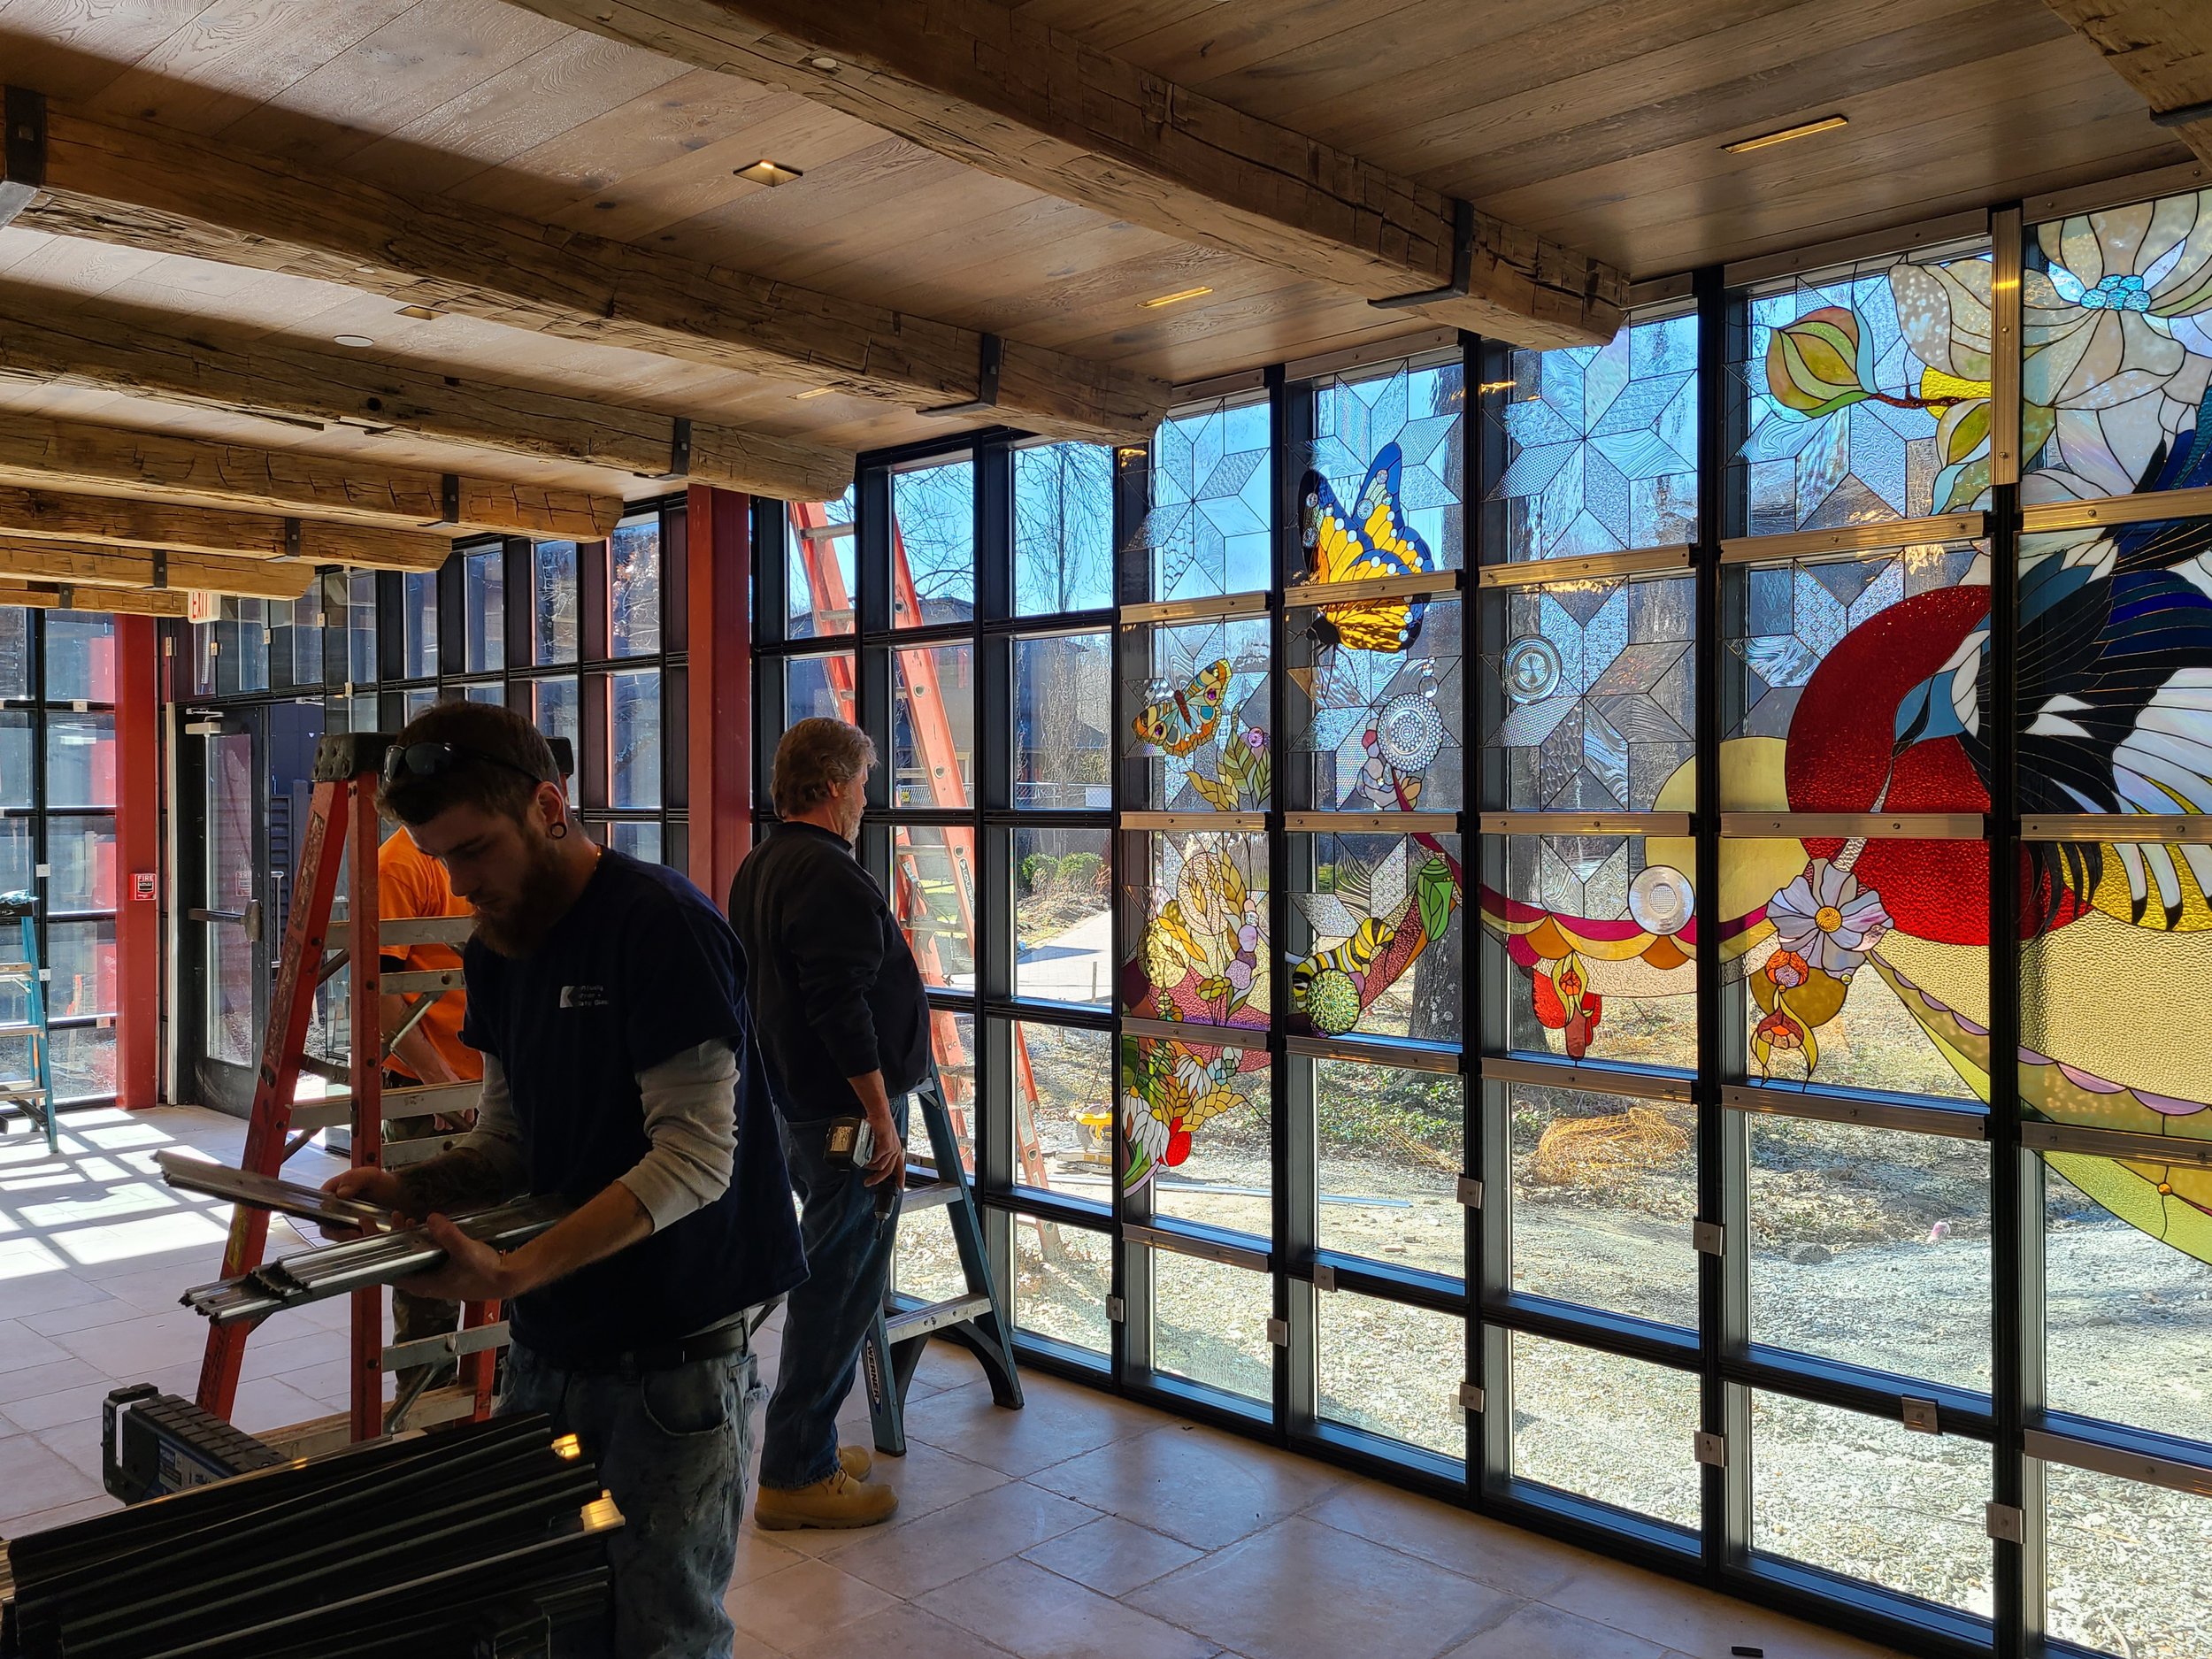
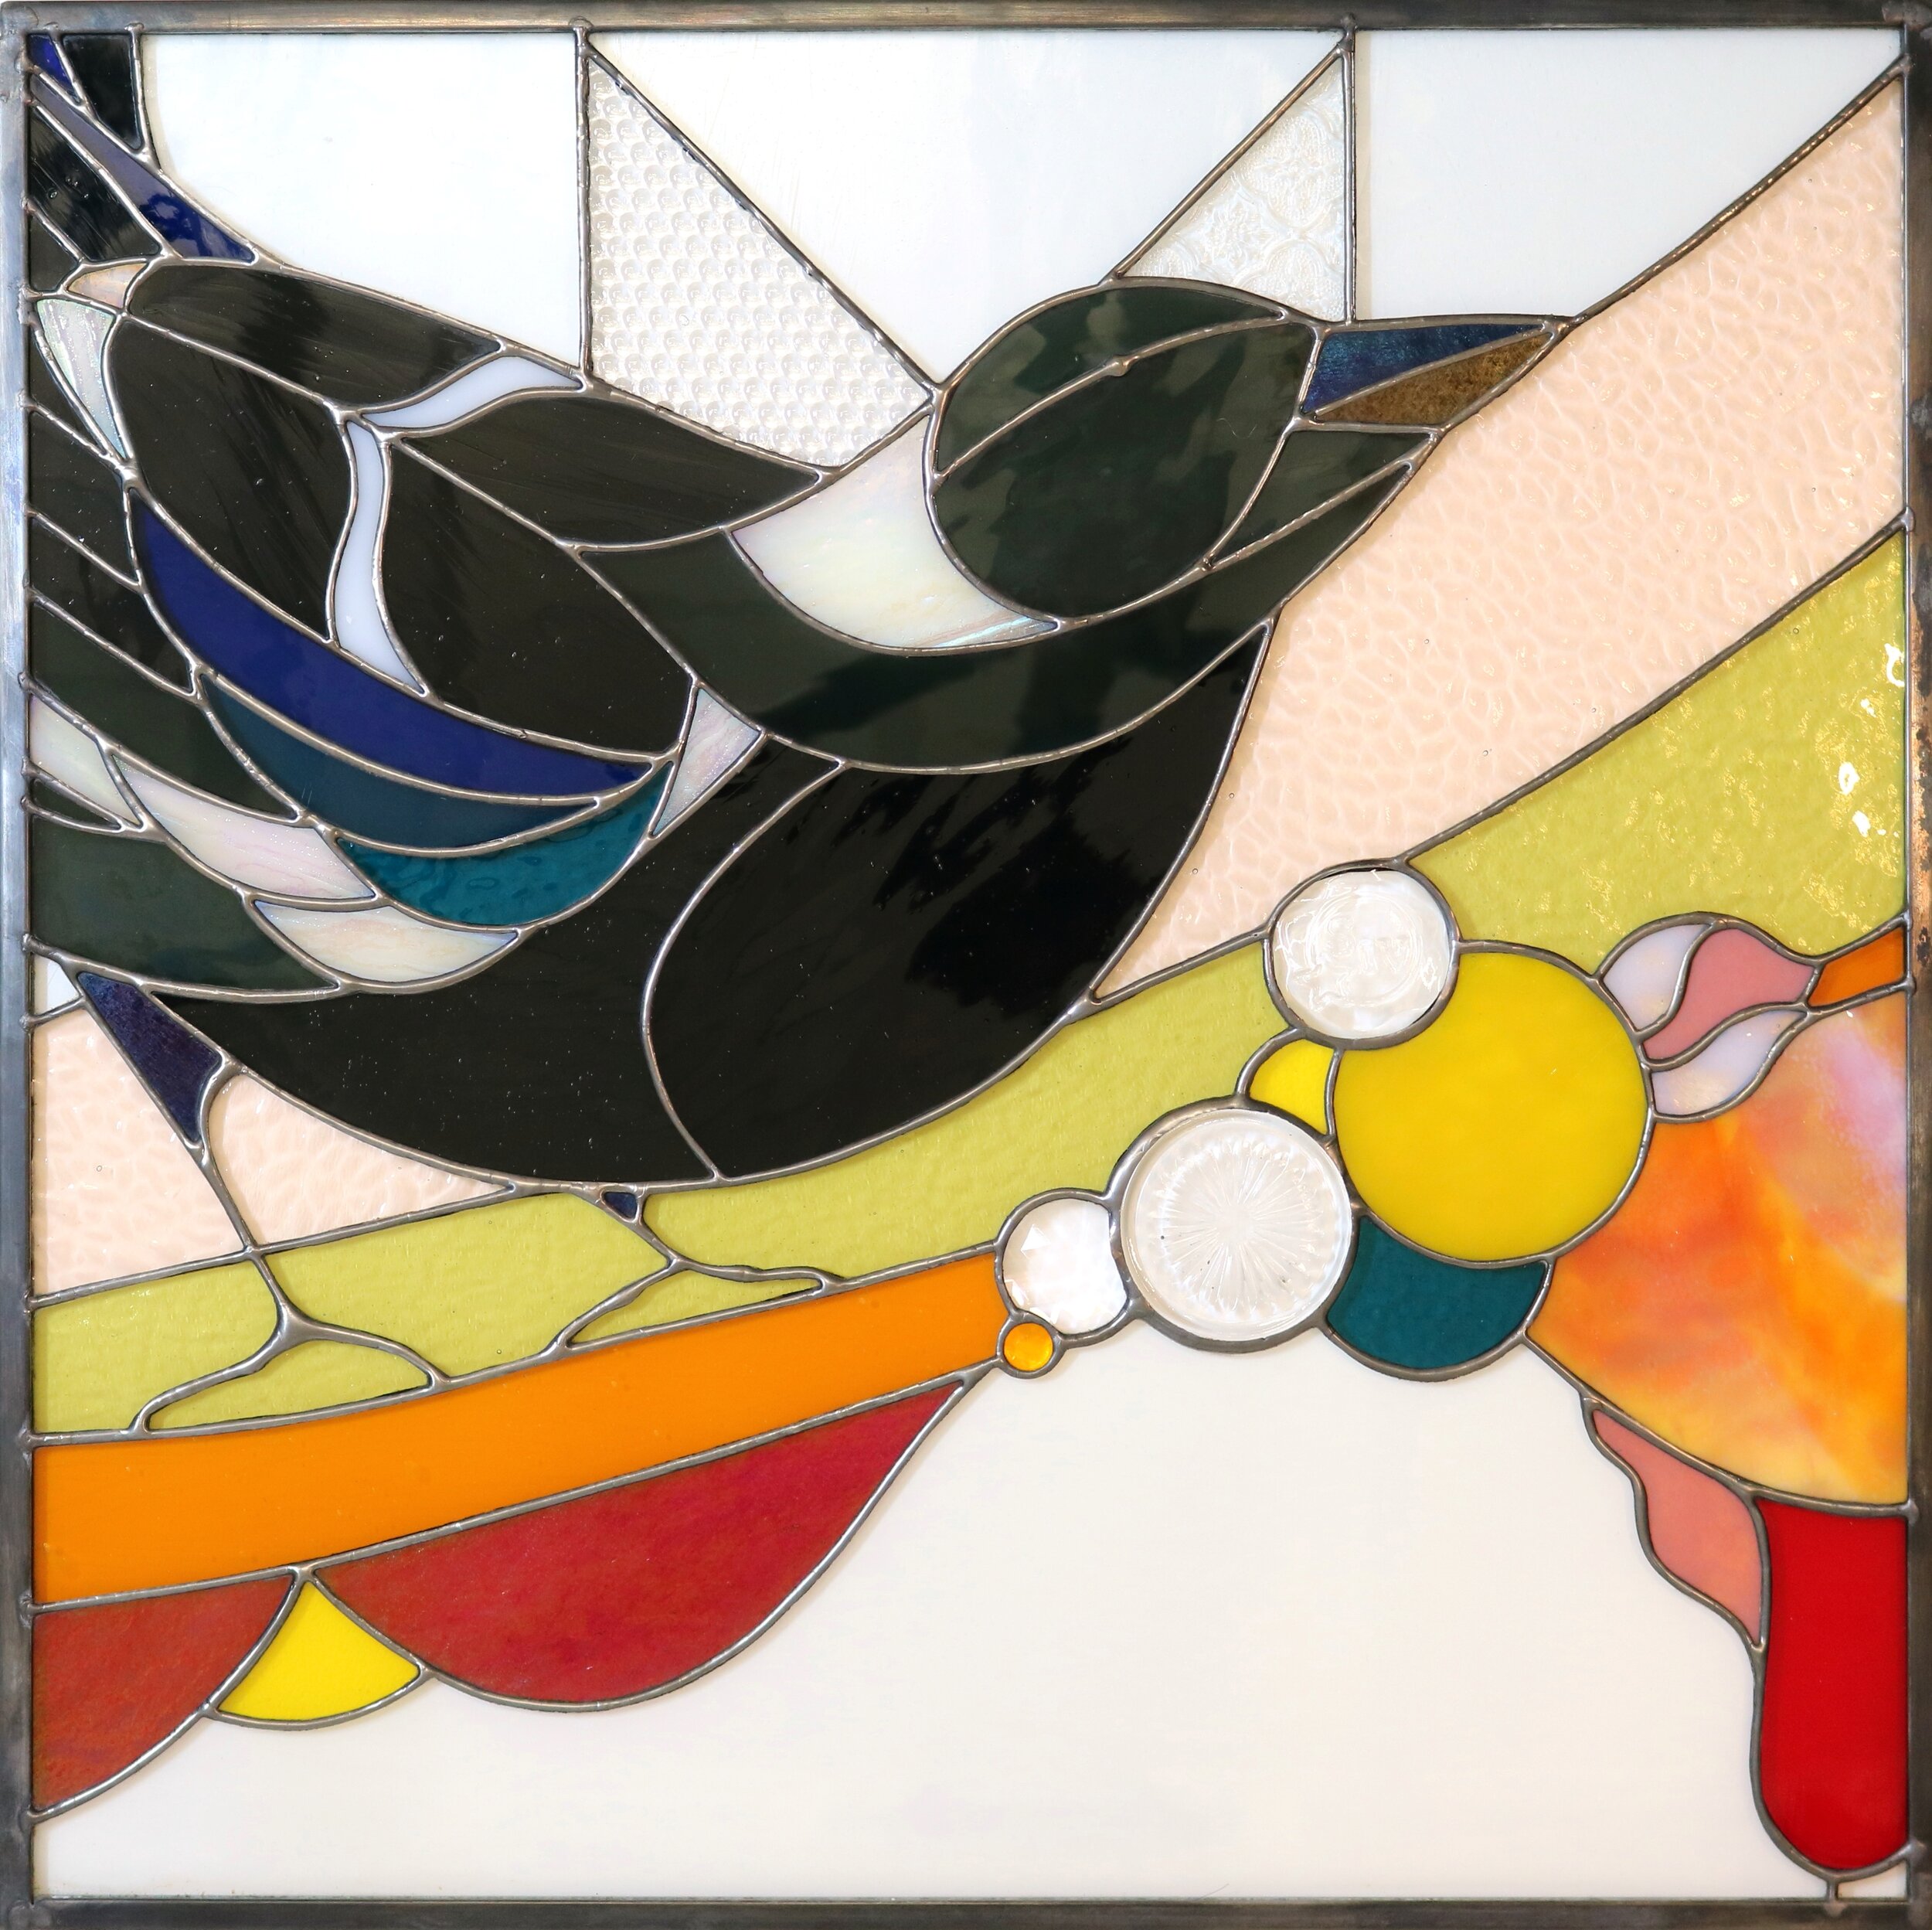
Total Stained Glass Panels: 65
Total Area of Stained Glass Panels: 197 square feet
Total number of Glass Pieces: 4,191 (3,415 front/776 side)
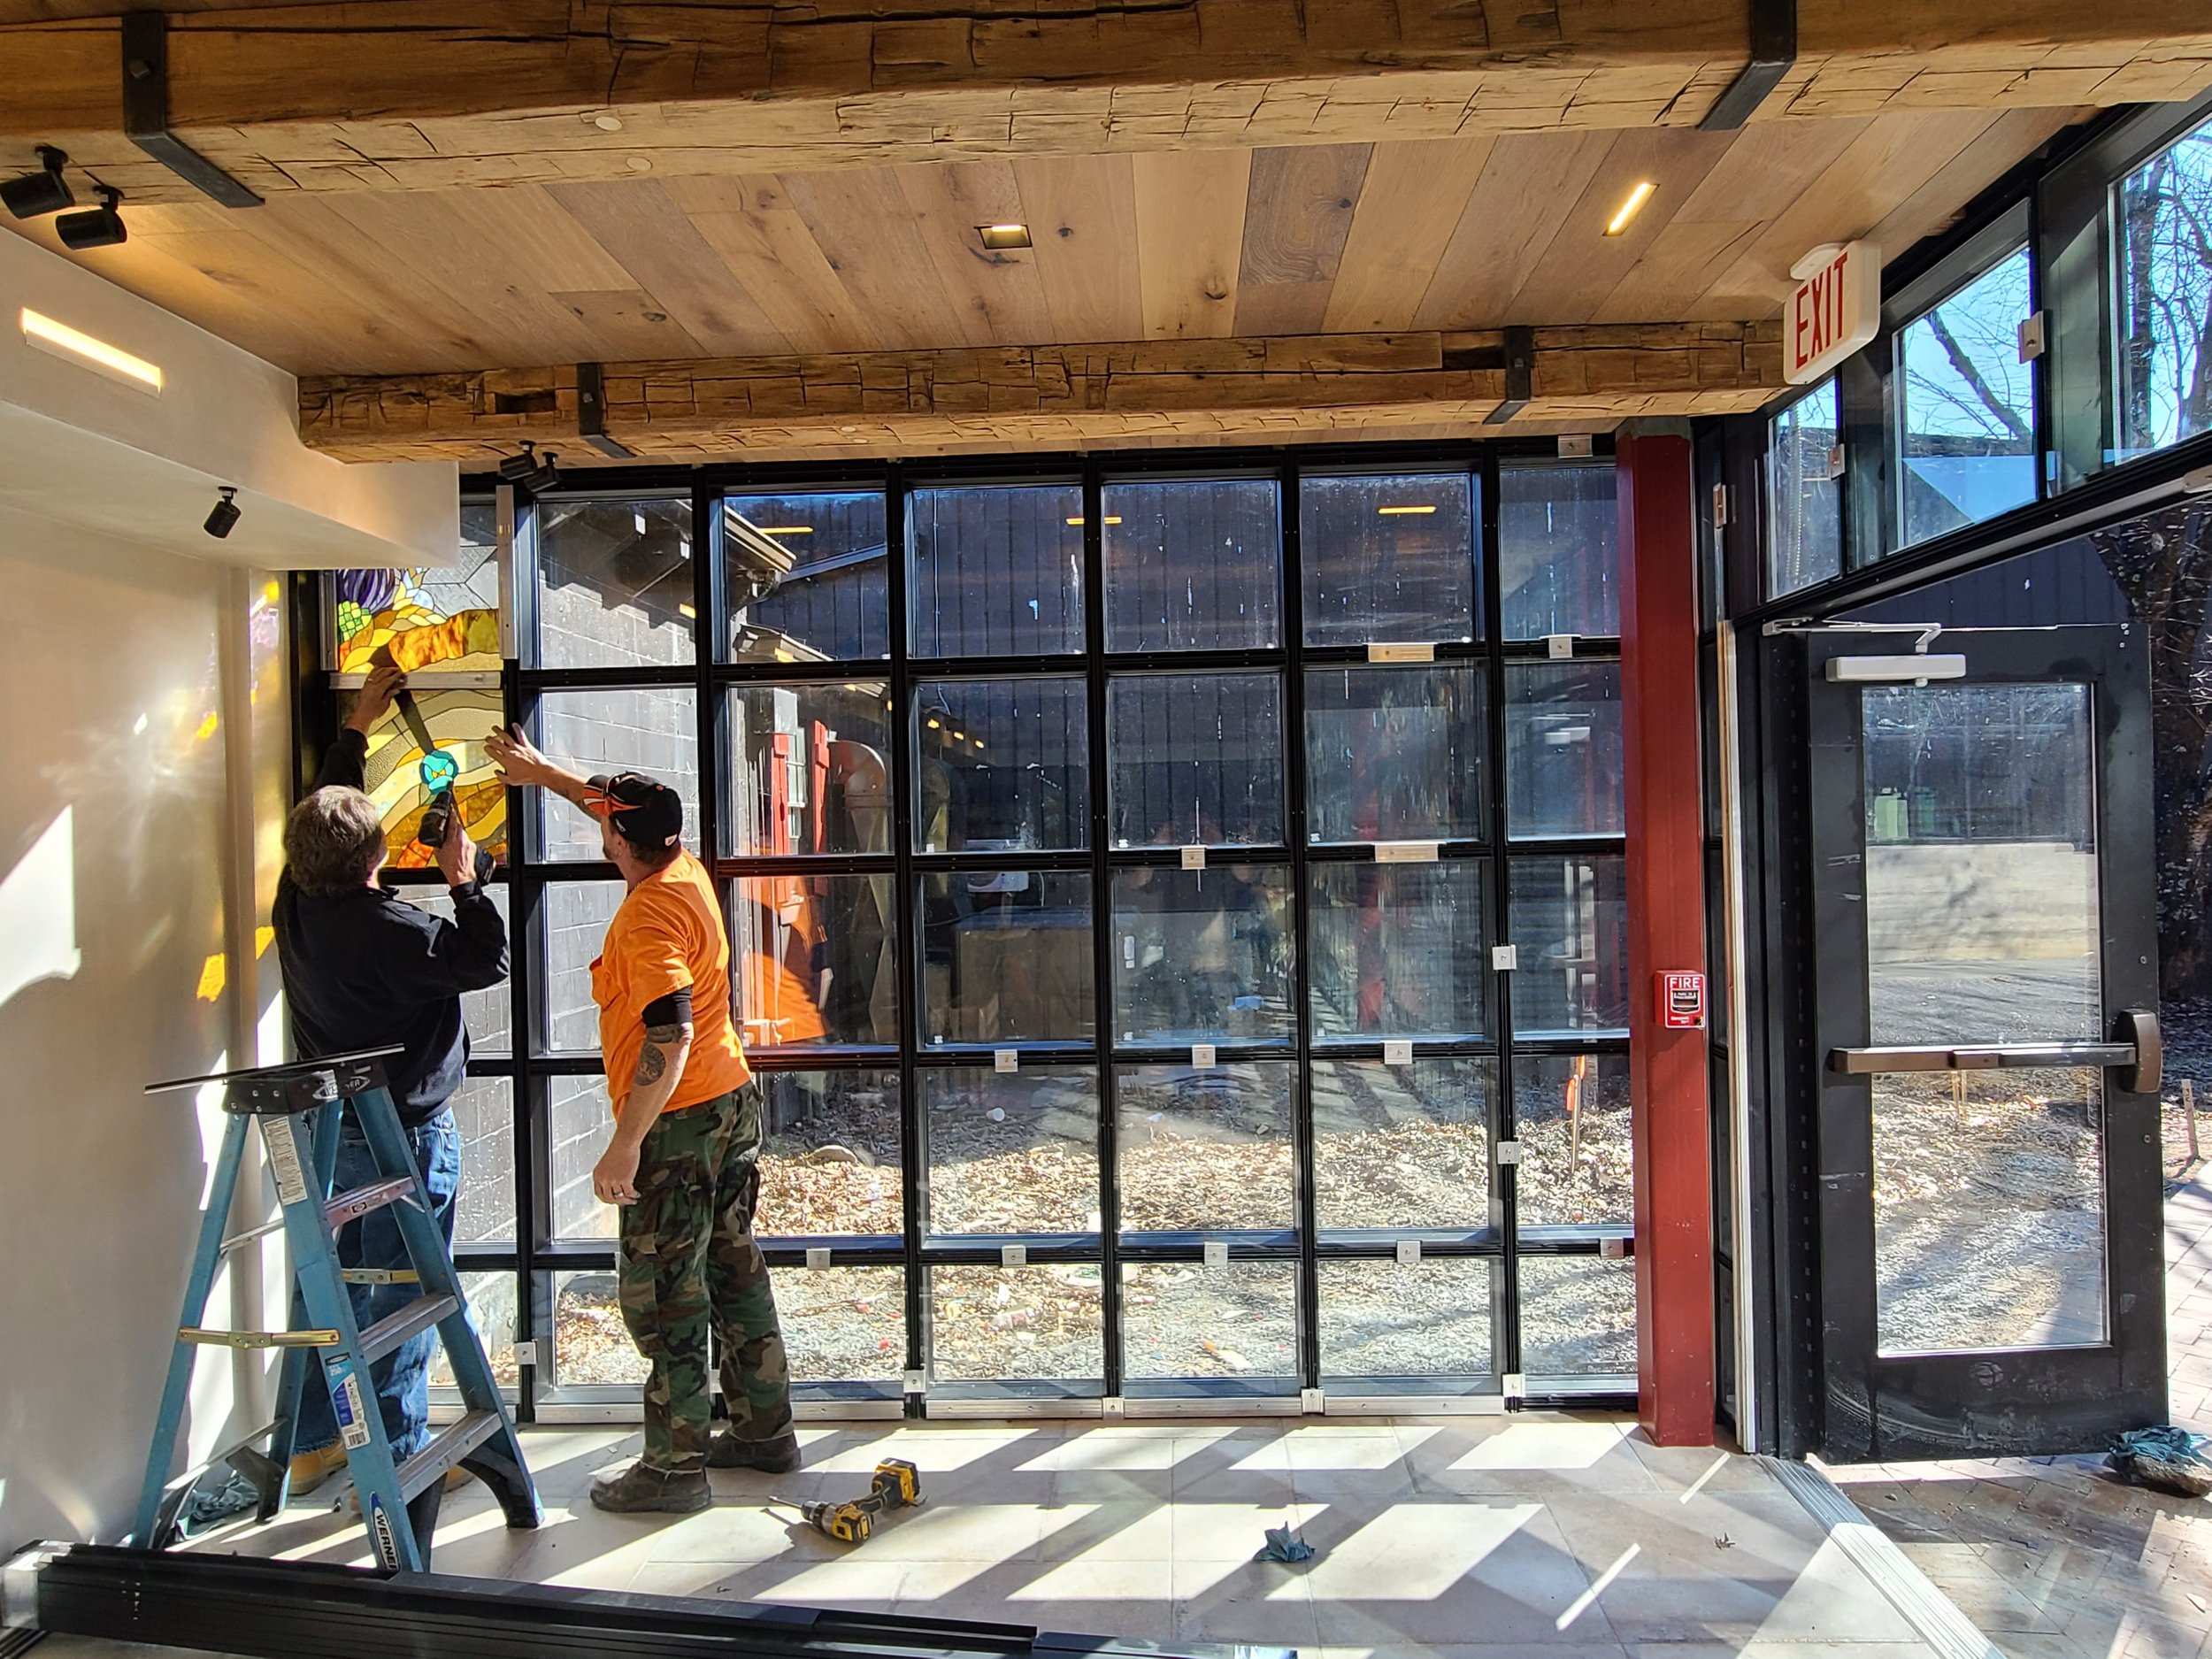
Front Wall Stained Glass Panels: 47
Side Wall Stained Glass Panels: 18
Panel Dimensions: 20” square (visible glass), 20 7/8” square (exterior of zinc)
Width of Stained Glass Overall 37 feet (26 front/11 side)
Columns with Stained Glass: 20 (14 front/6 side)
Front Wall overall dimensions: 36 feet
Number of –
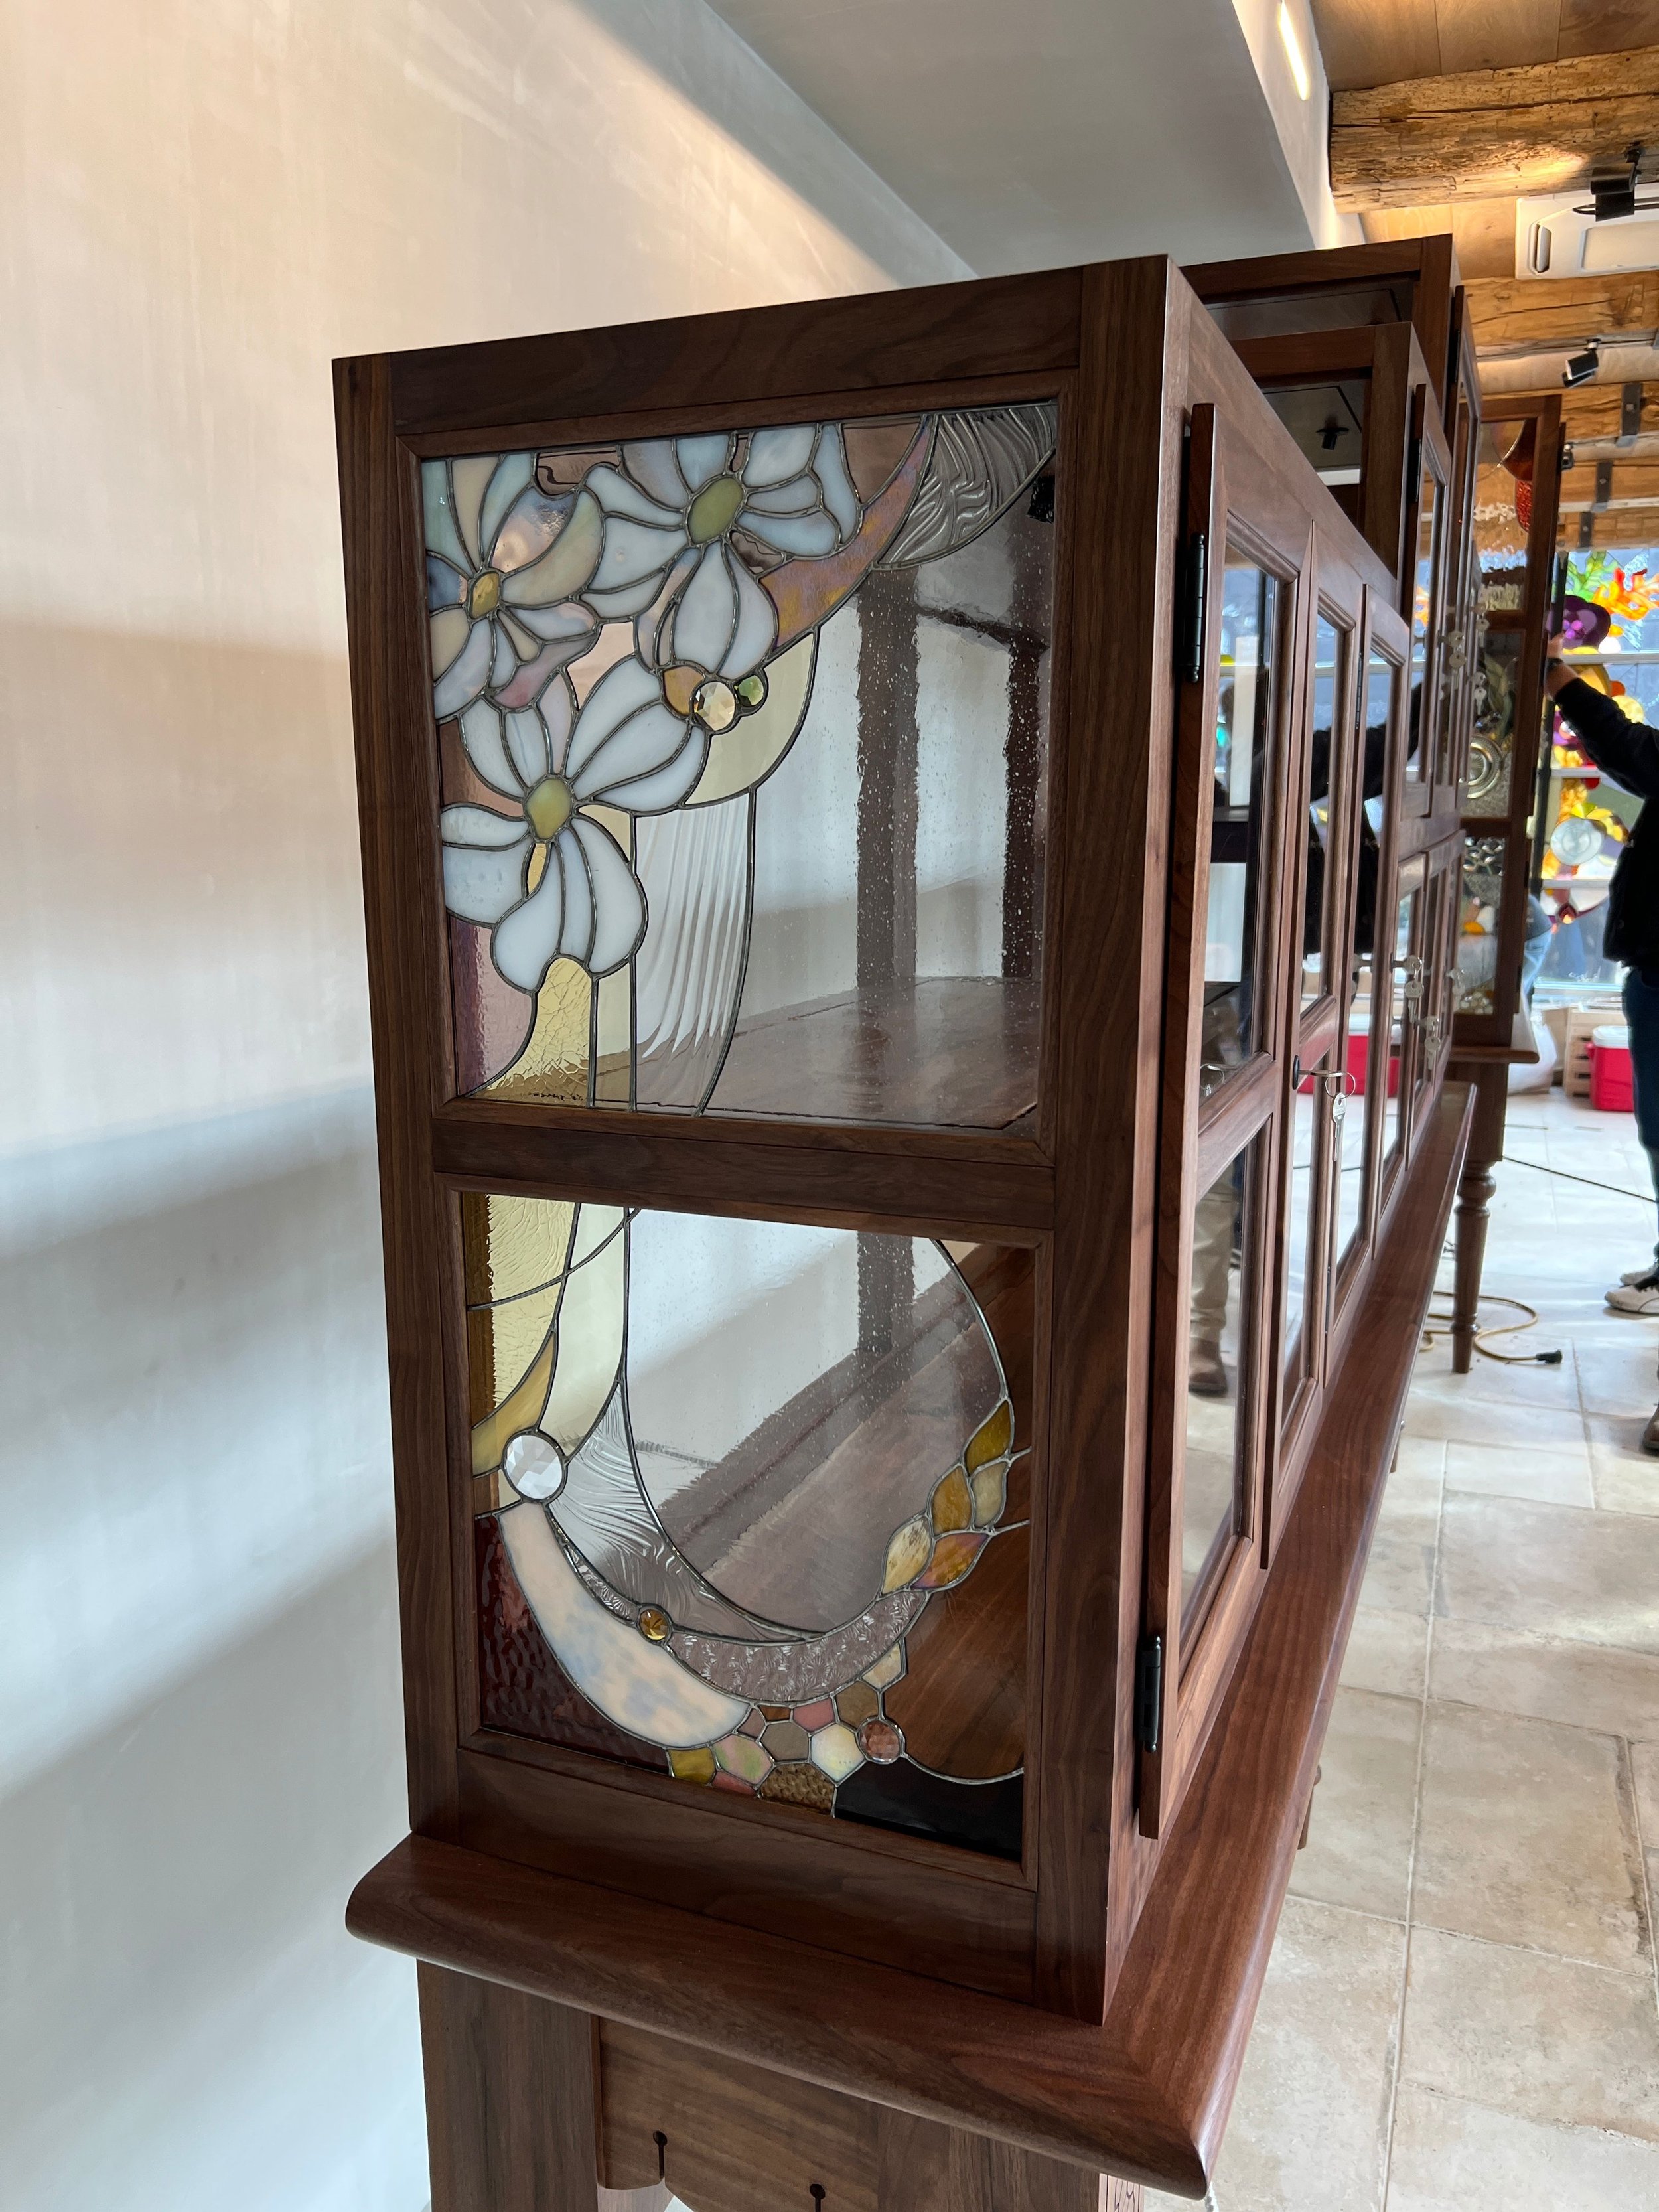
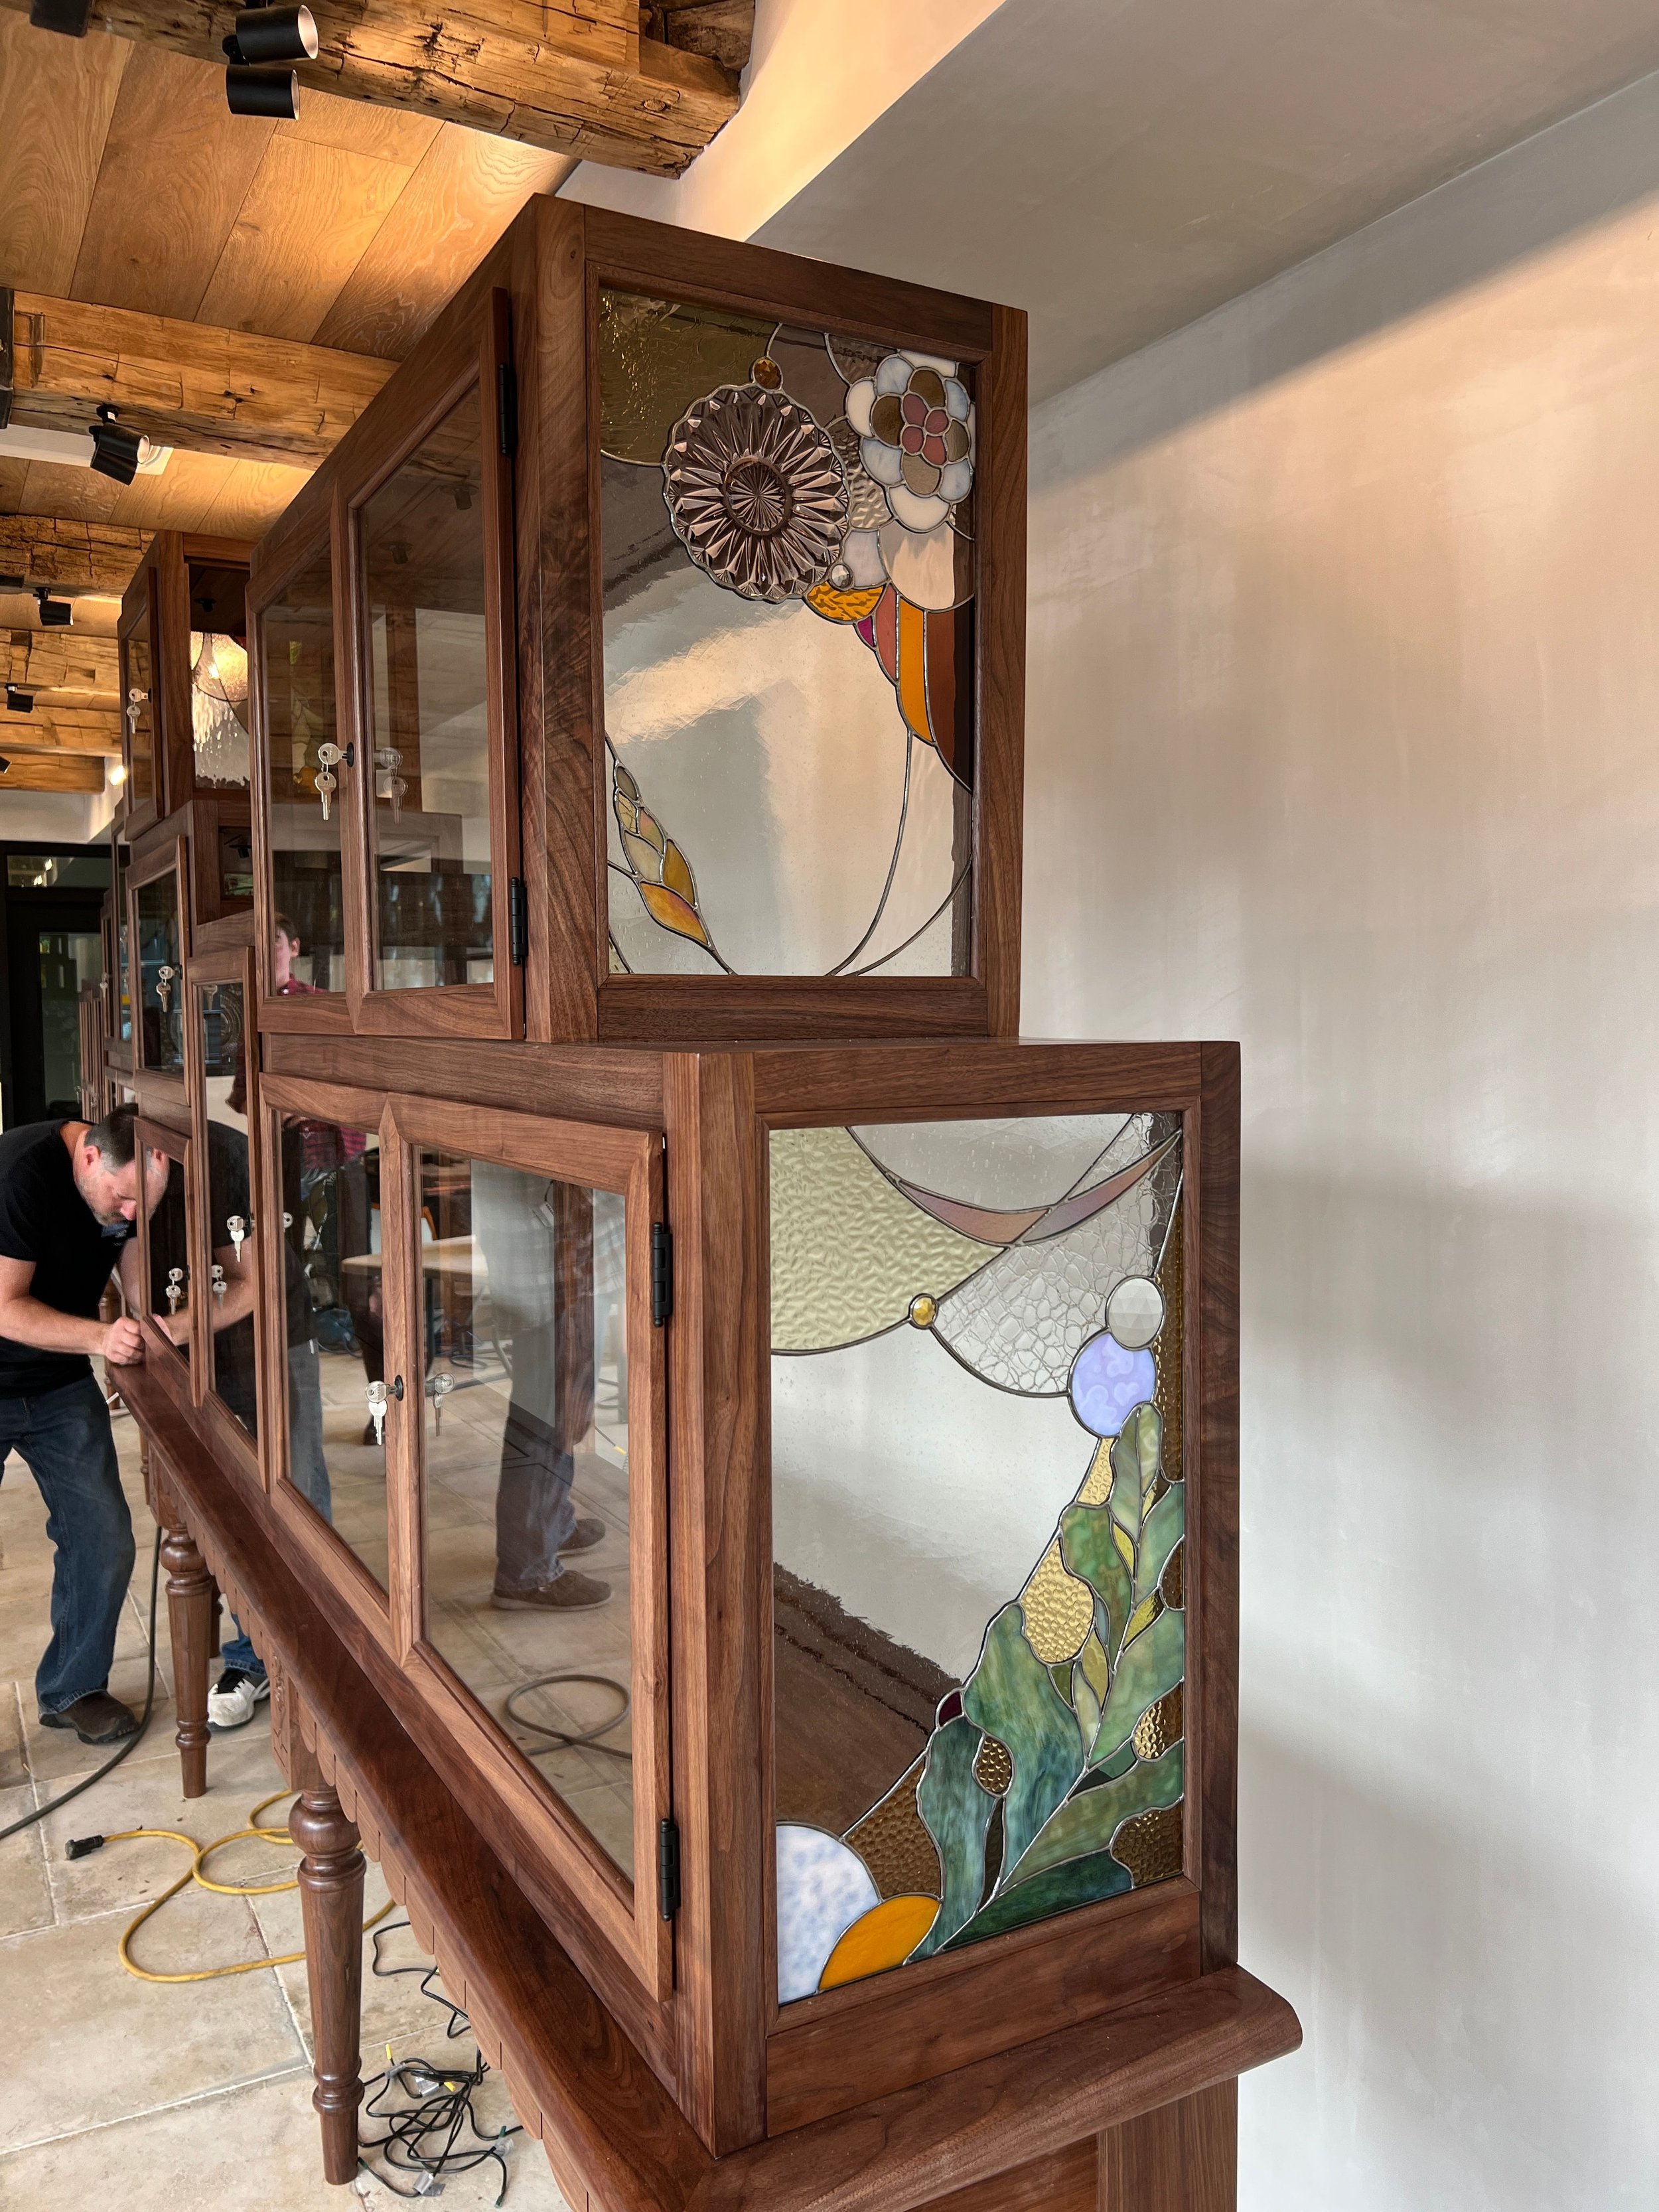
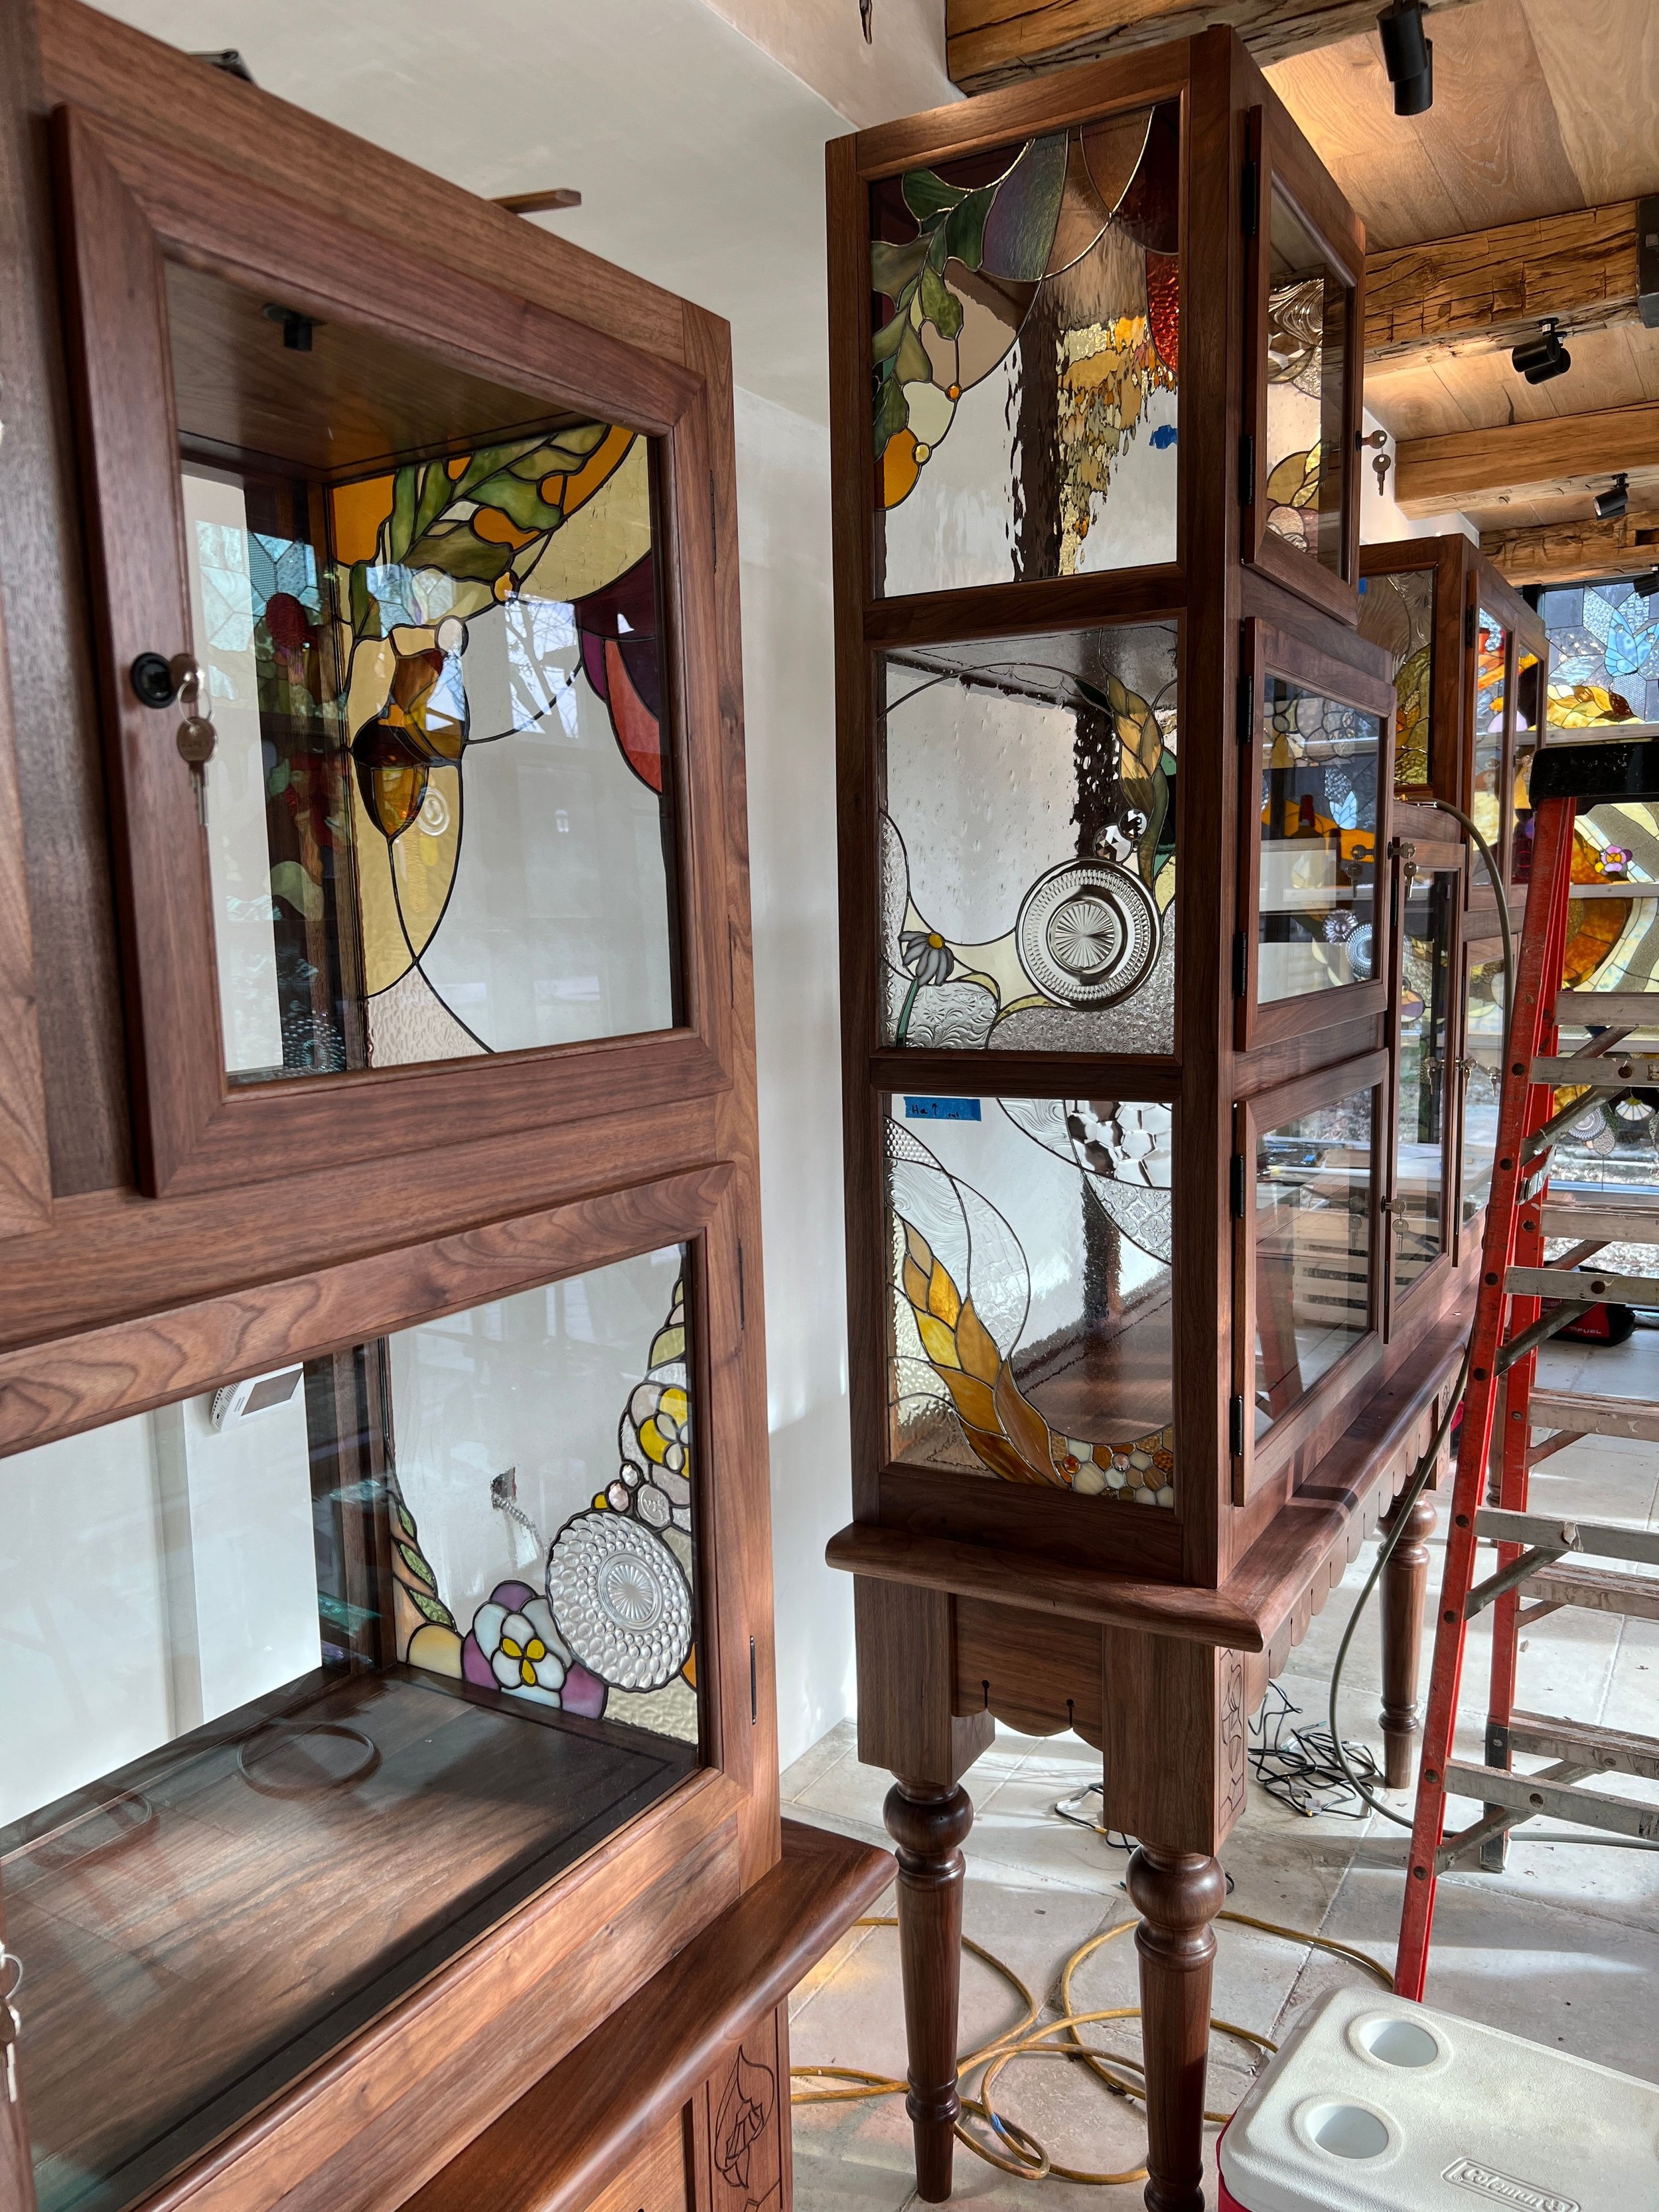
Butterflies: 9 (1 in caterpillar and 1 in chrysalis stage)
Flowers: 54
Ferns: 3
Magpies: 2
Barley/Wheat(s?): 17
Oak Leaves: 9
Acorns: 5
Honeycombs: 116
Thistles: 3
Honey Bees: 2
Kittens: 0
Stars: 38
Drips: 19
Embossed Makers Marks: 5
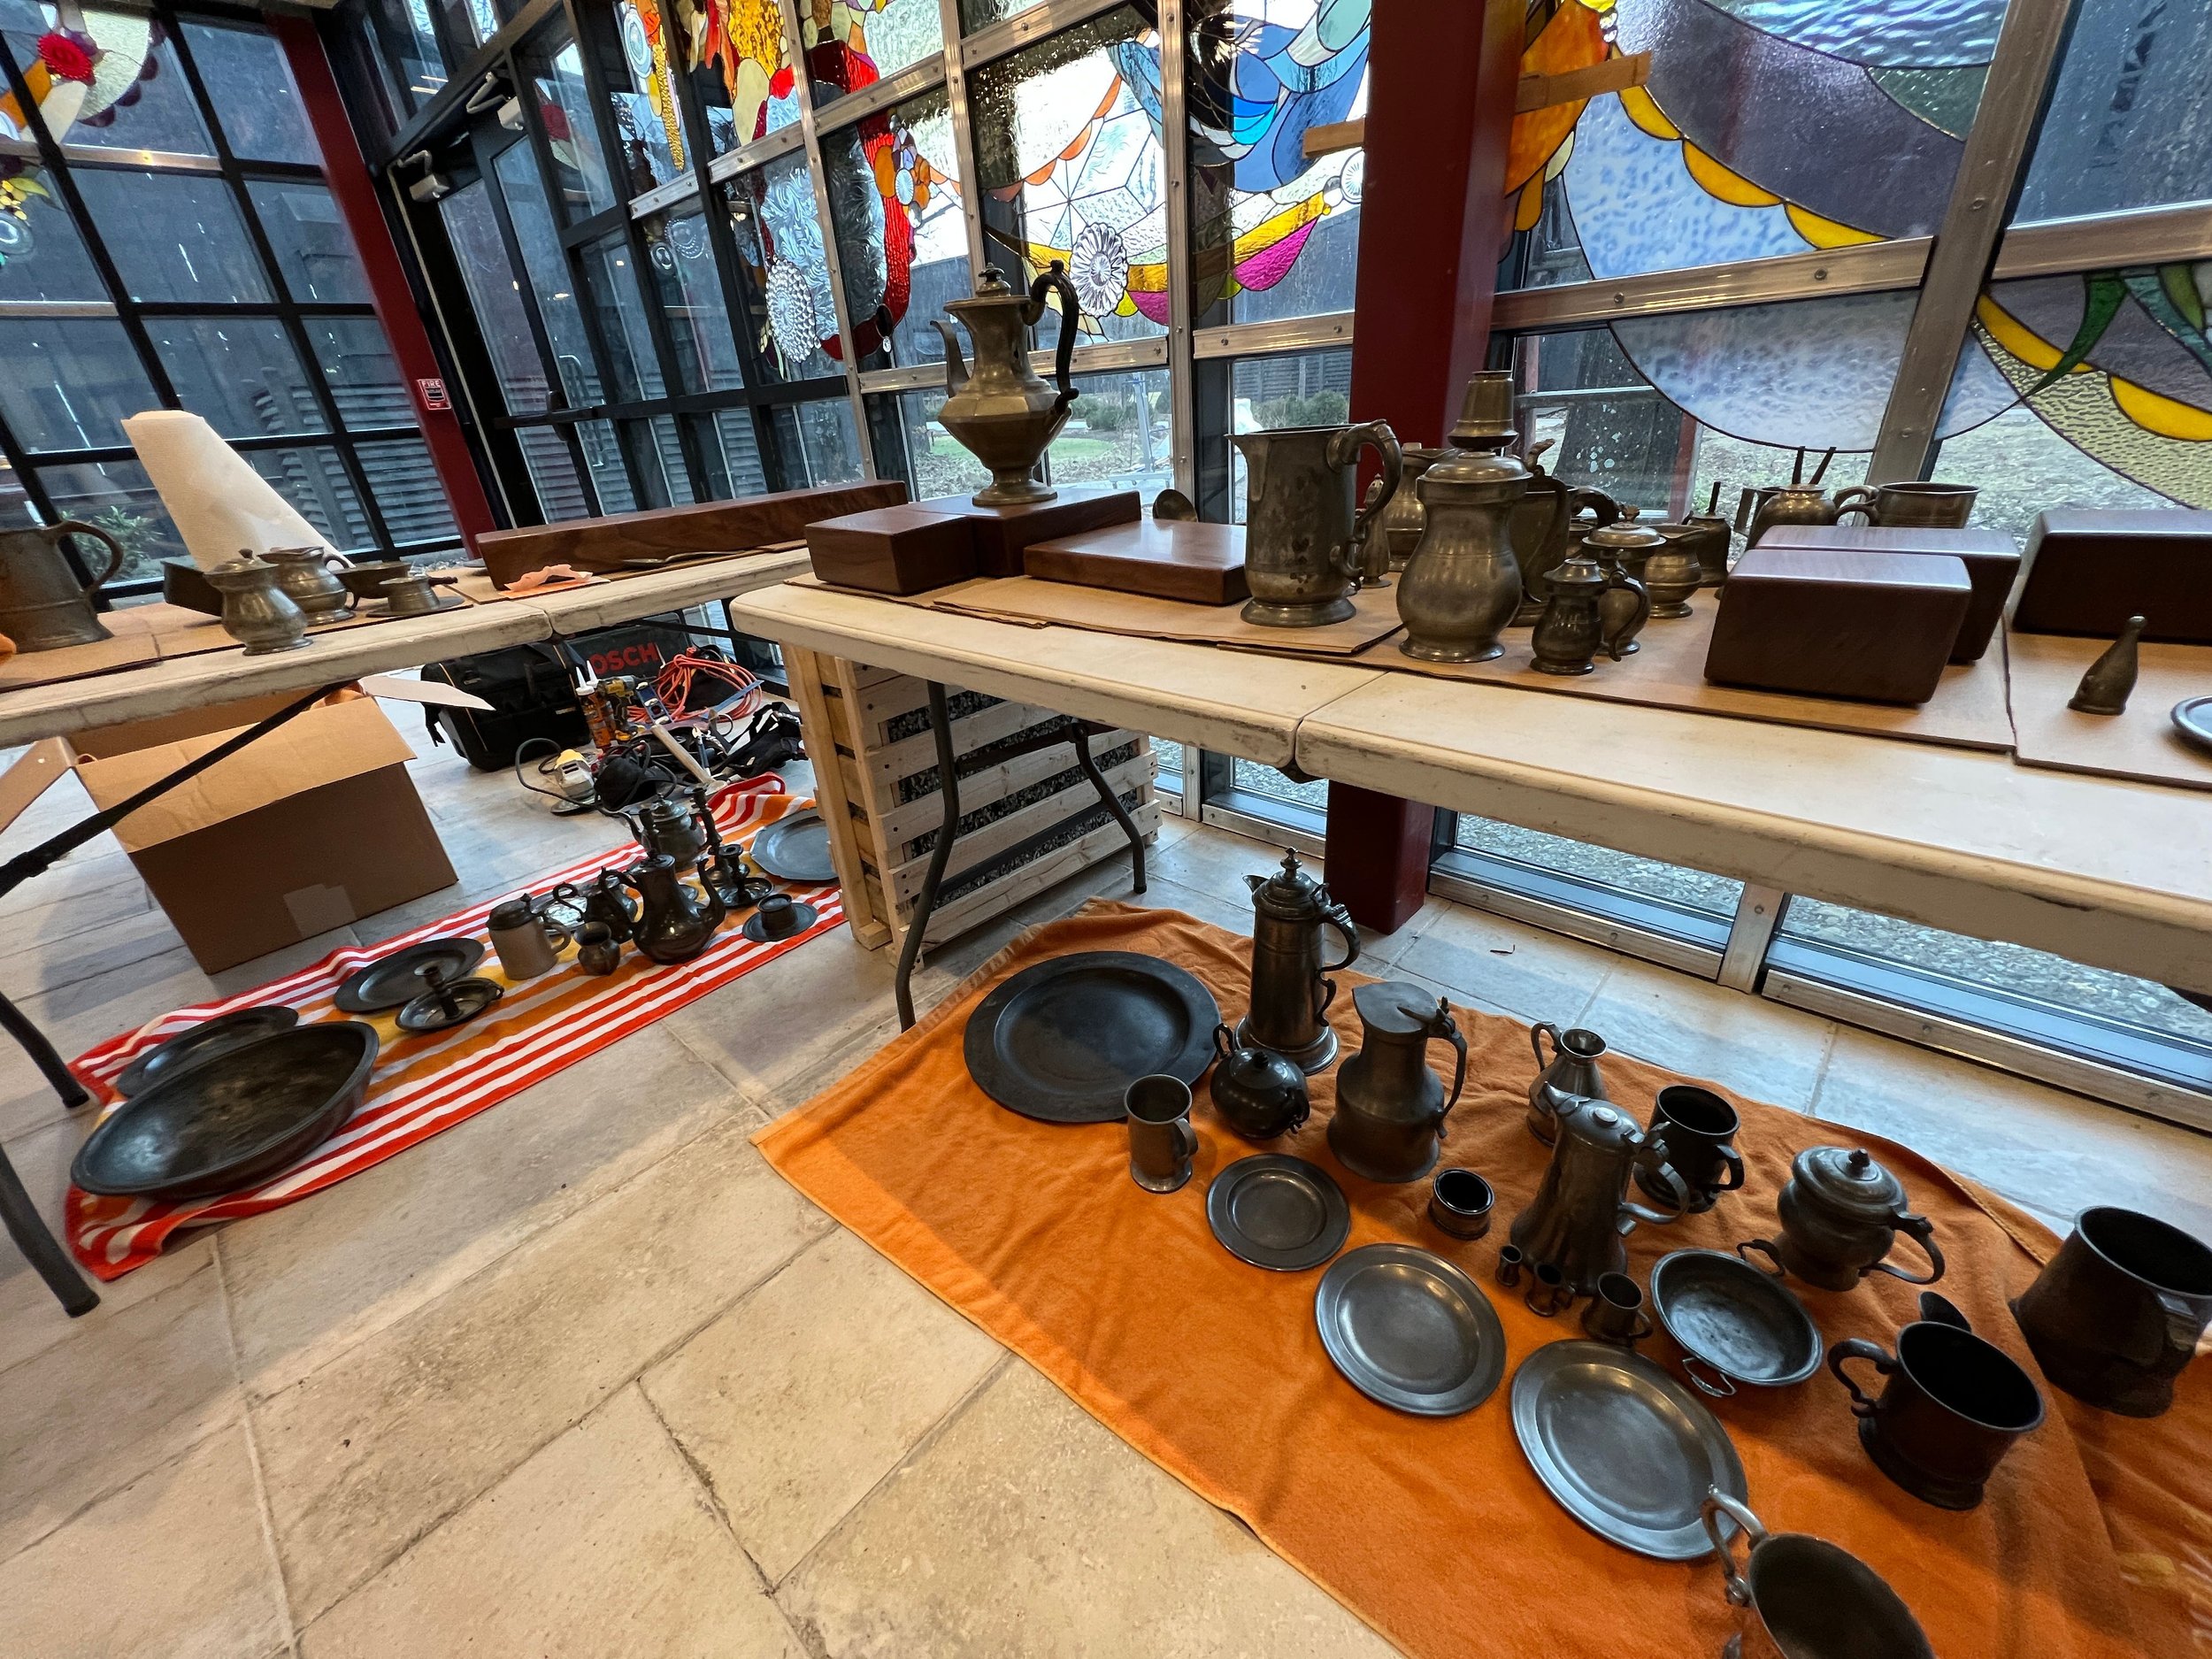
Depression Glass Plates: 25
Buntings: 10
Makers Mark bottle Shapes: 3